Designing My Portfolio Website
The brief was to design and code an online website for my portfolio while curating a unique experience for the user with accessible navigation and interactive elements.
What was the brief?
The brief was to design and code an online website for my portfolio while curating a unique experience for the user with accessible navigation and interactive elements.
What Was the First Step?
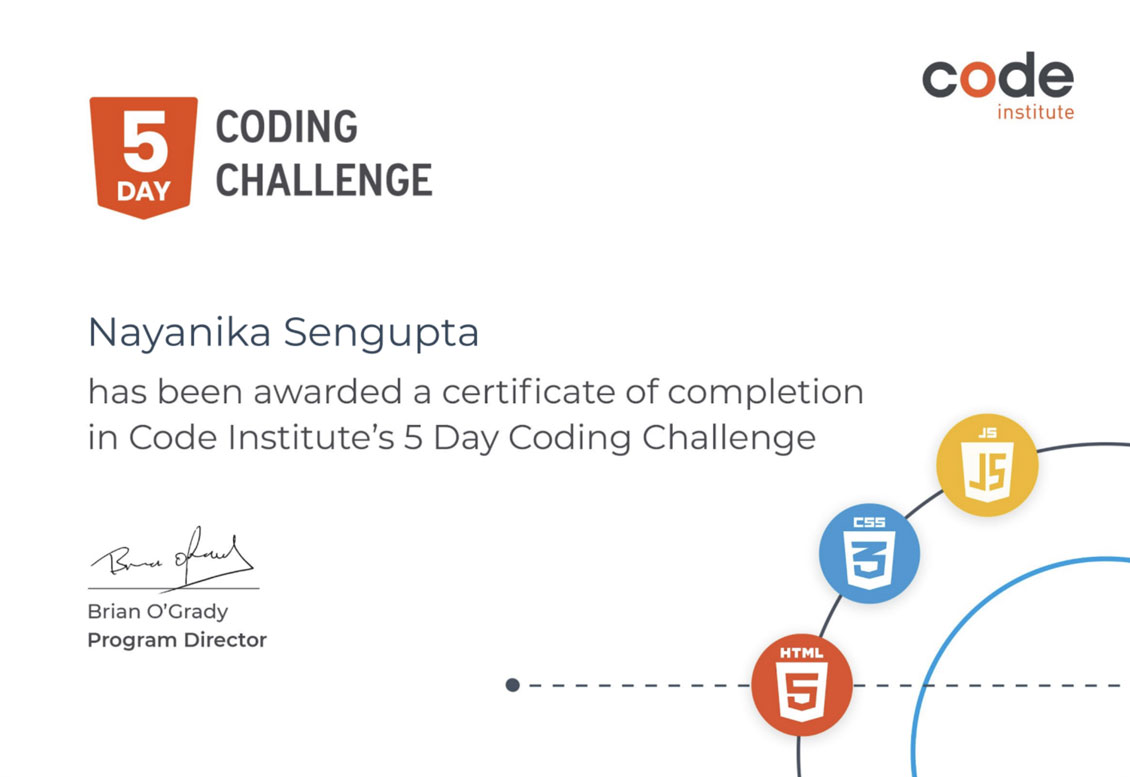
To prepare for designing my portfolio website, I took a coding course covering HTML, CSS, and JavaScript by Matthieu Delac. Additionally, I completed a web design course by SuperHi to learn about designing for the web and UI/UX terminology and processes. I also referred to the book ‘Know Your Onions: Web Design’ by Drew de Soto.
I analysed portfolios of past students, design agencies, and graphic designers to understand how portfolios are designed. I used site mapping to evaluate their content structure, with particular attention to the introduction section to help me craft my introduction.
How Did I Approach the Project?
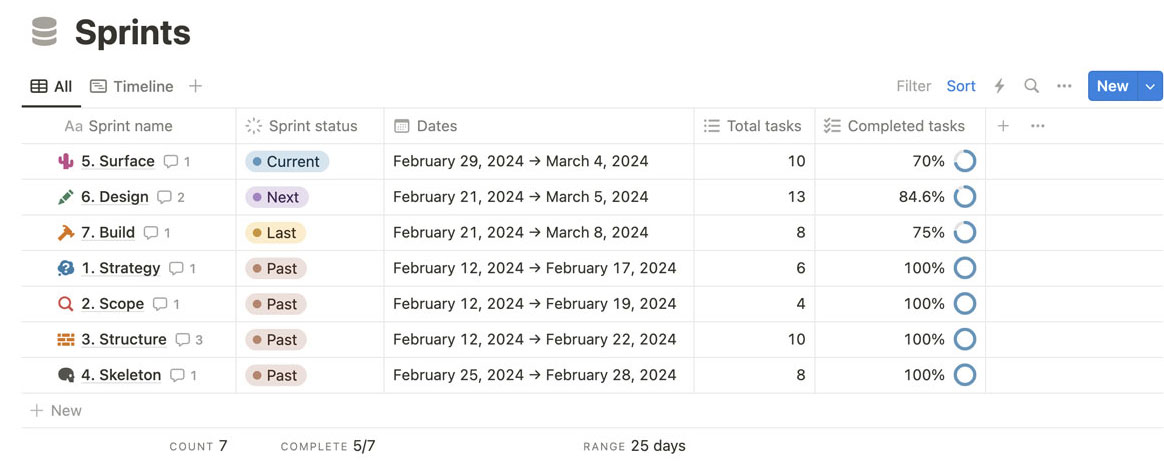
Designing and coding a website in less than 4 weeks required meticulously planning out a timeline for tasks. I used Notion to organise tasks, assign deadlines for each phase of the process and sorted deliverables by priority. By breaking down each each task into smaller chunks, I was able to manage my time better.
Who’s Interested in Portfolios?
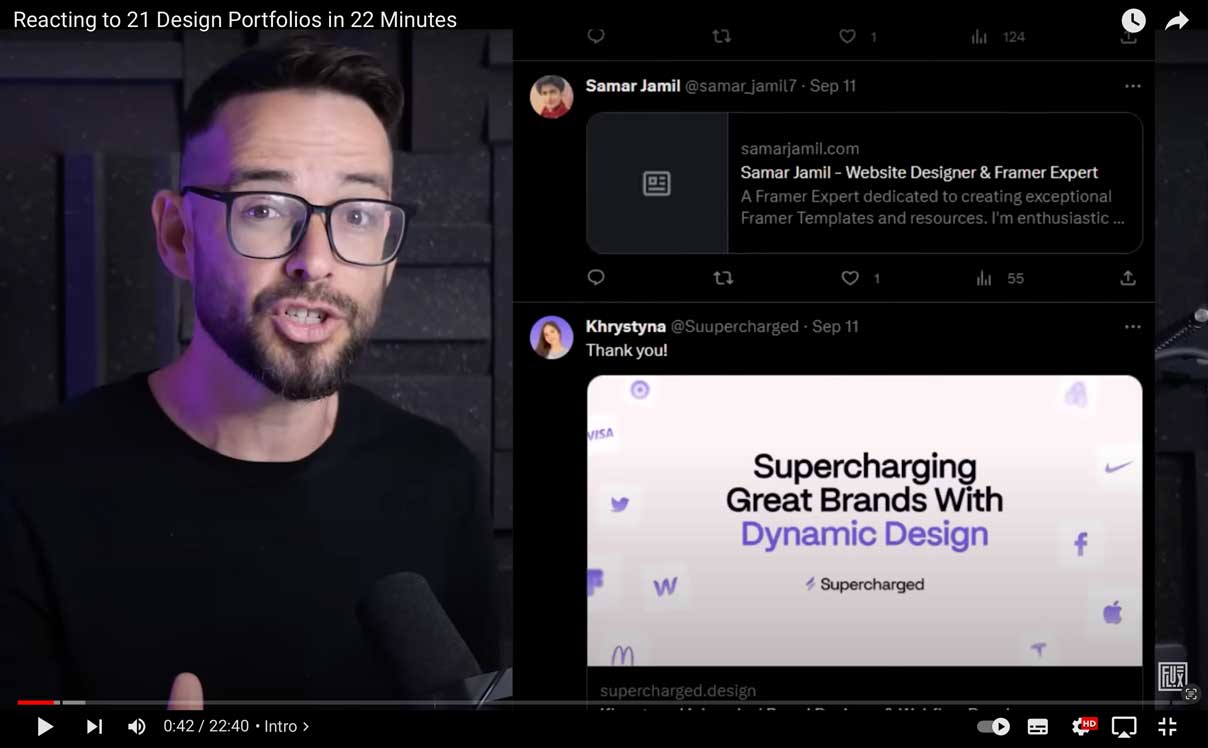
To make my website appealing to my target audience of creative professionals, I researched their preferences and expectations by watching portfolio reviews on YouTube to understand how design portfolios are typically reviewed, what catches their attention, and how long they spend on each site.
How Should a Website be Structured?
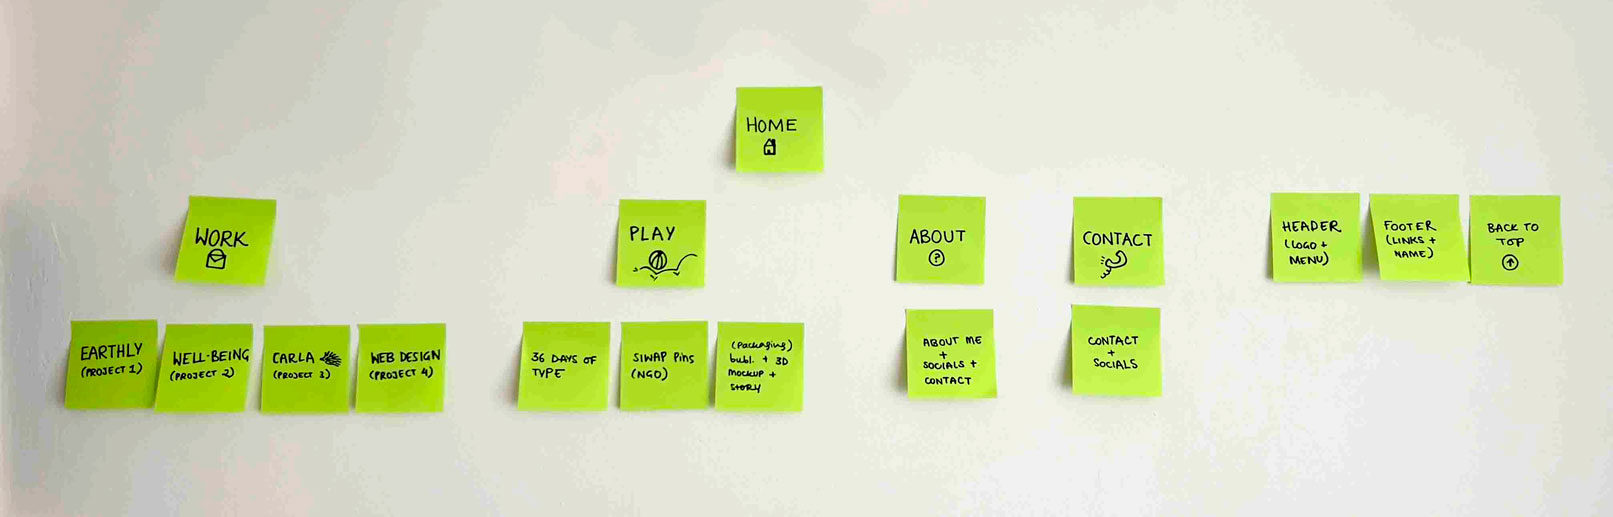
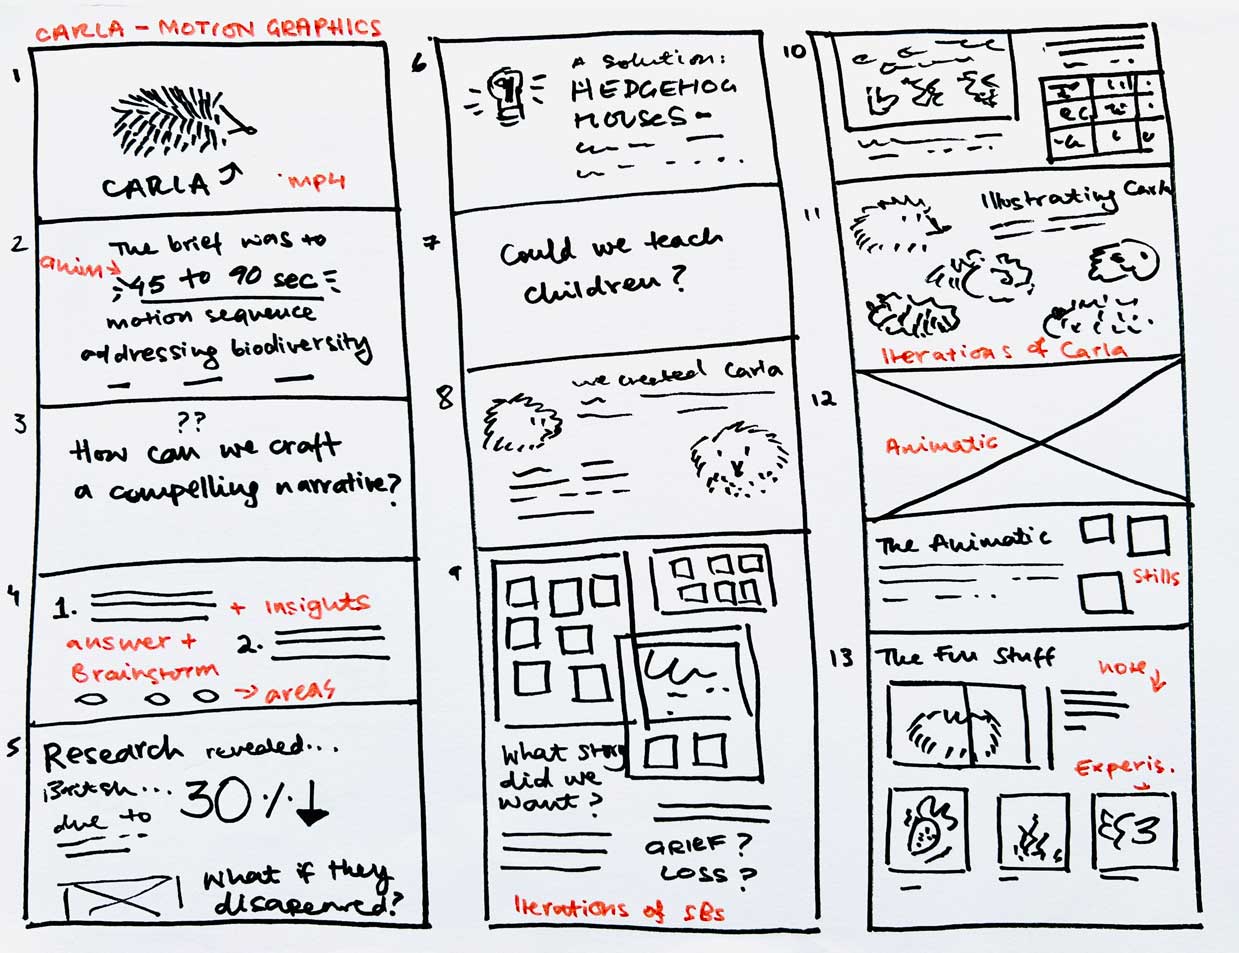
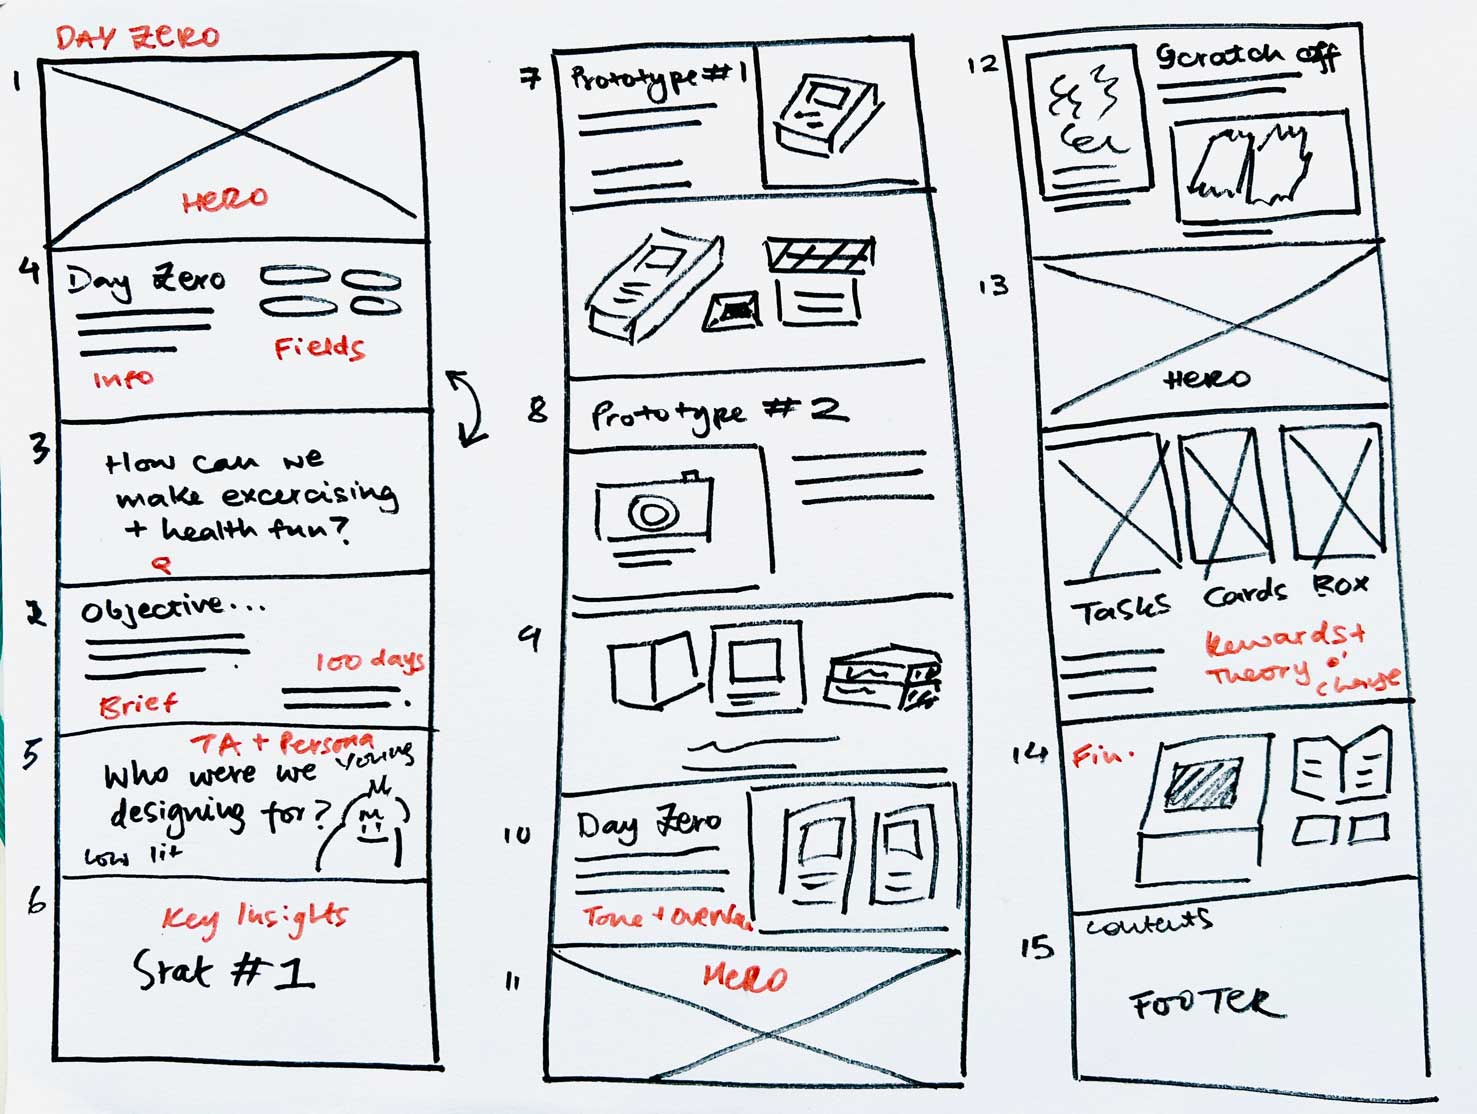
Before I started designing, I defined the site’s purpose, the tone of voice and the target audience. I then made a rough site map on sticky notes, roughly created the wireframes for different web pages on paper, and loosely translated those to Figma.
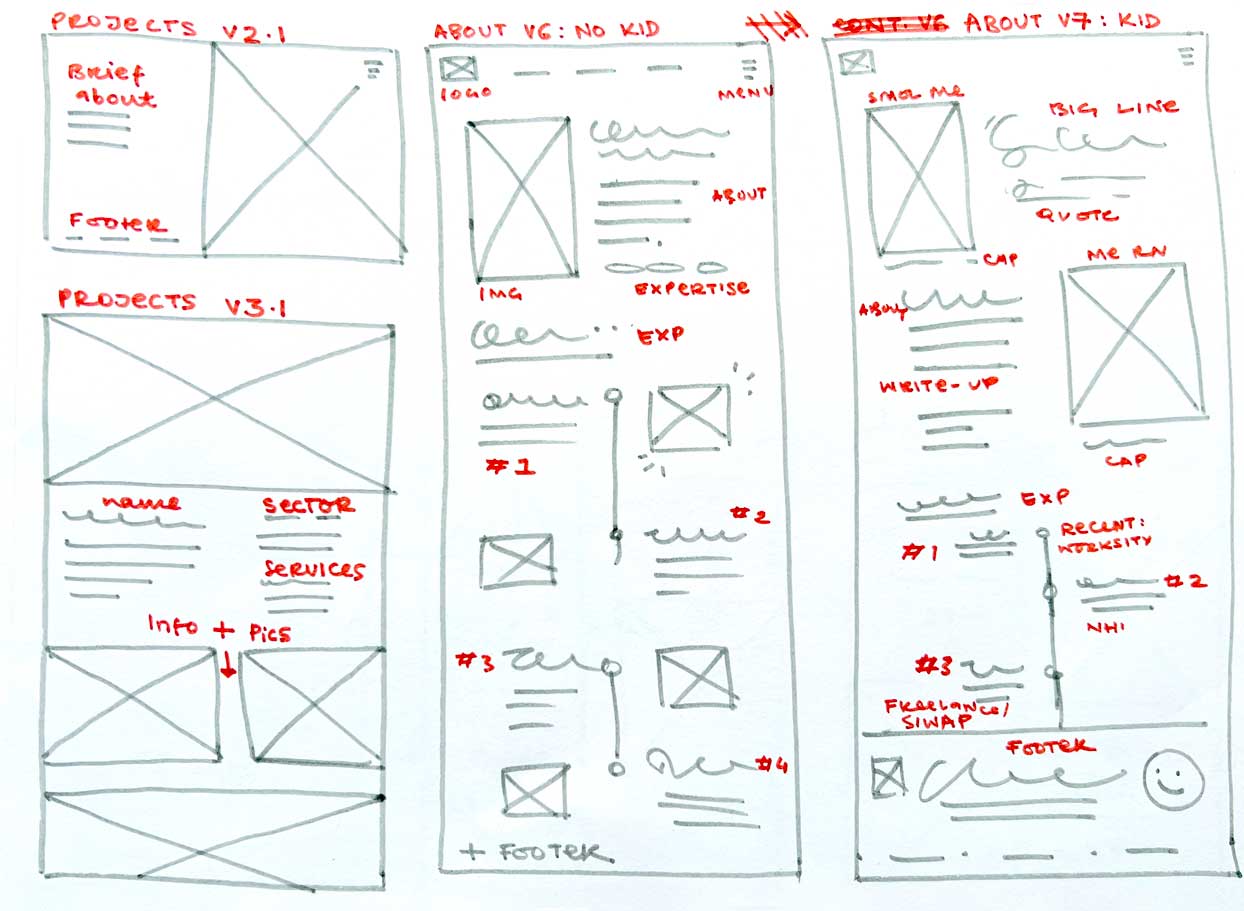
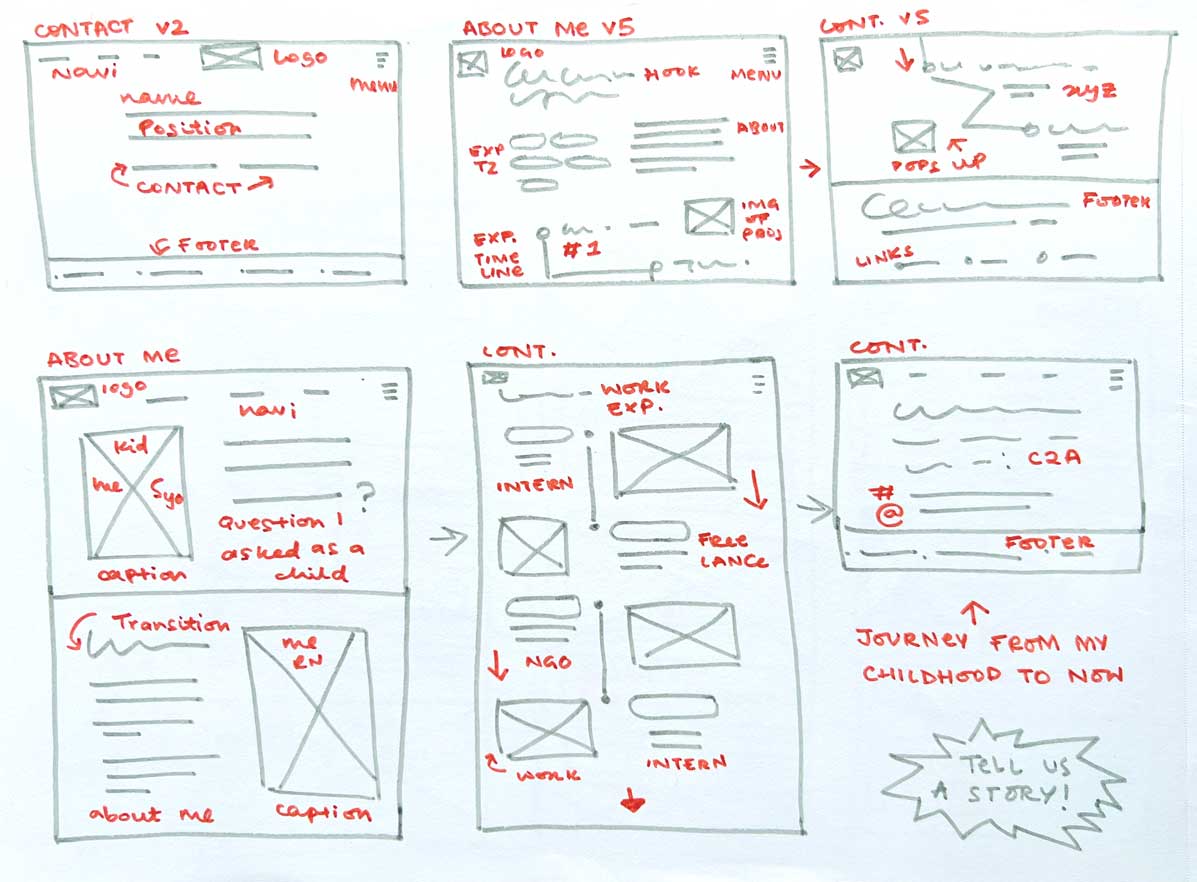
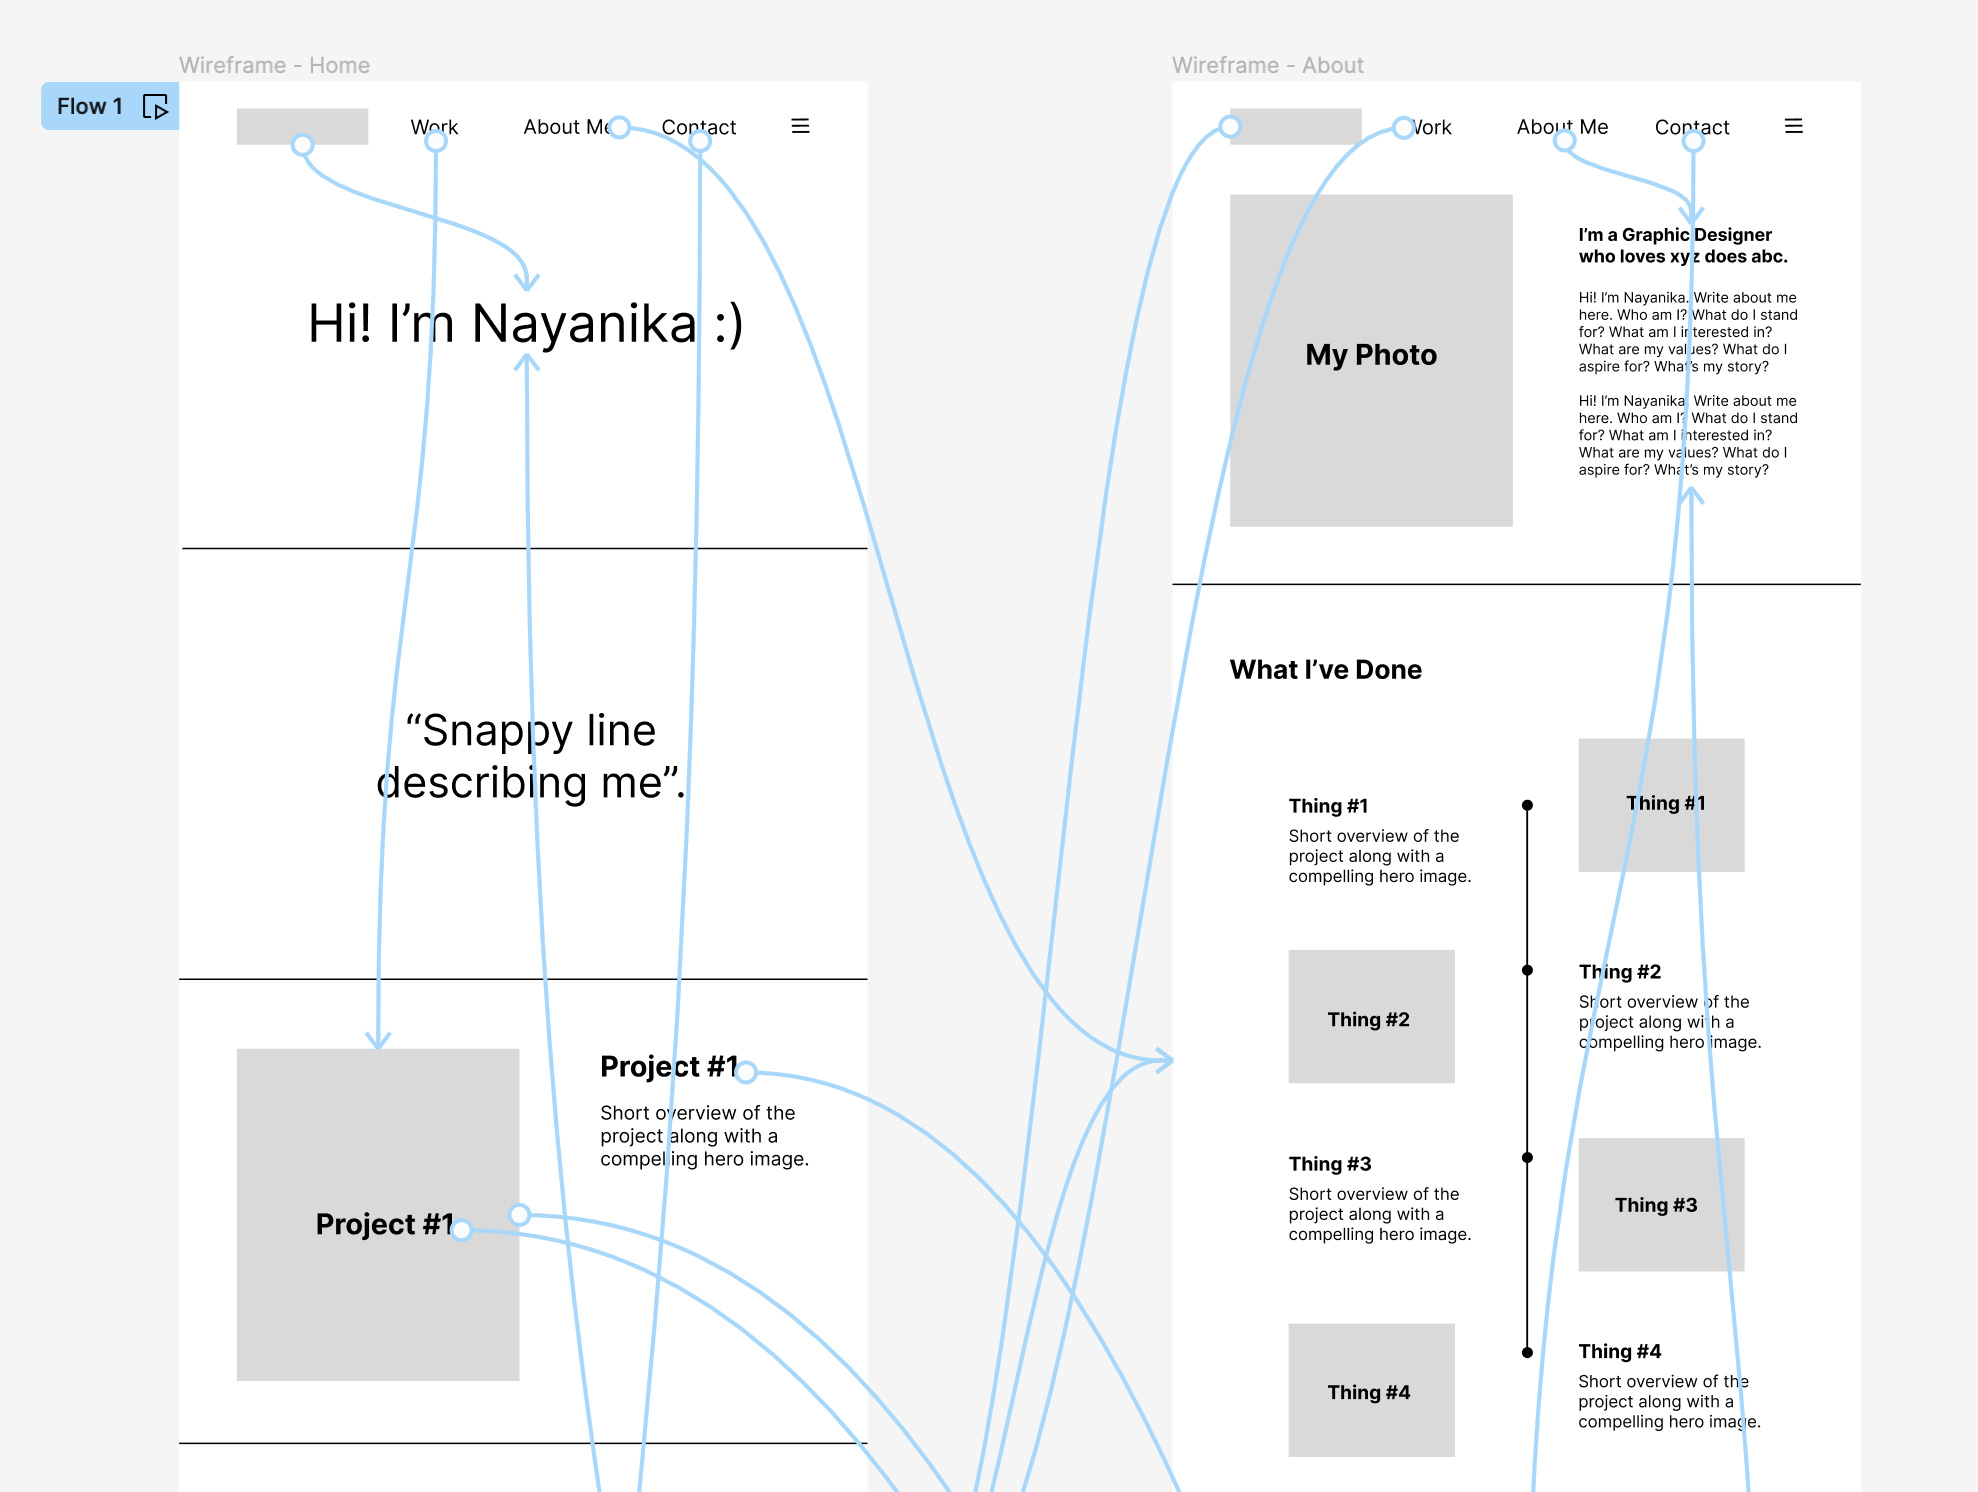
Wireframing and Prototyping
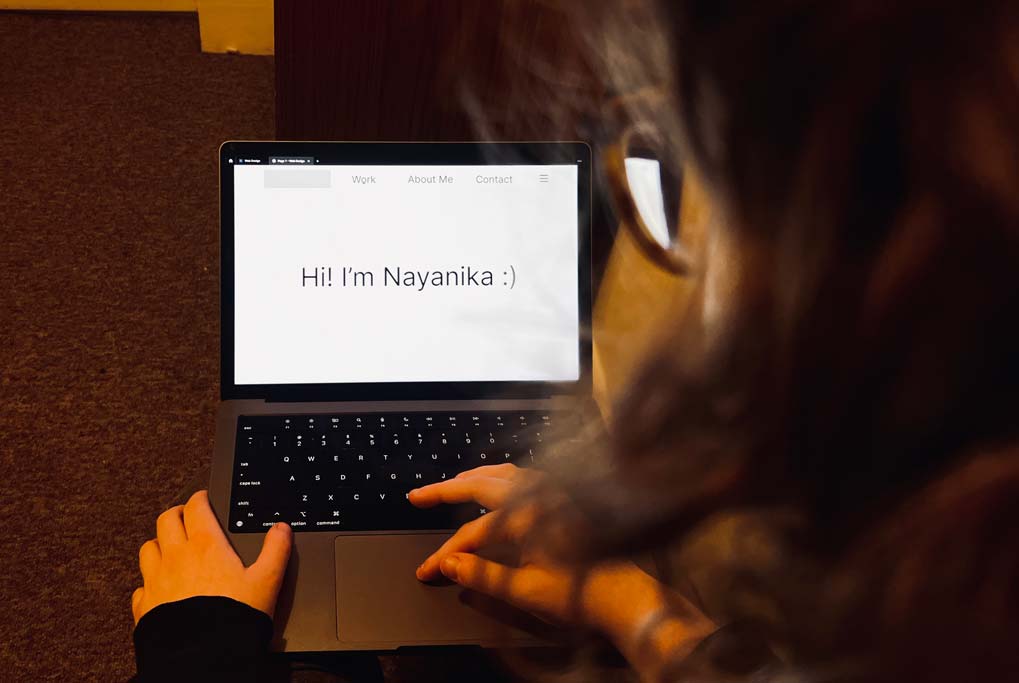
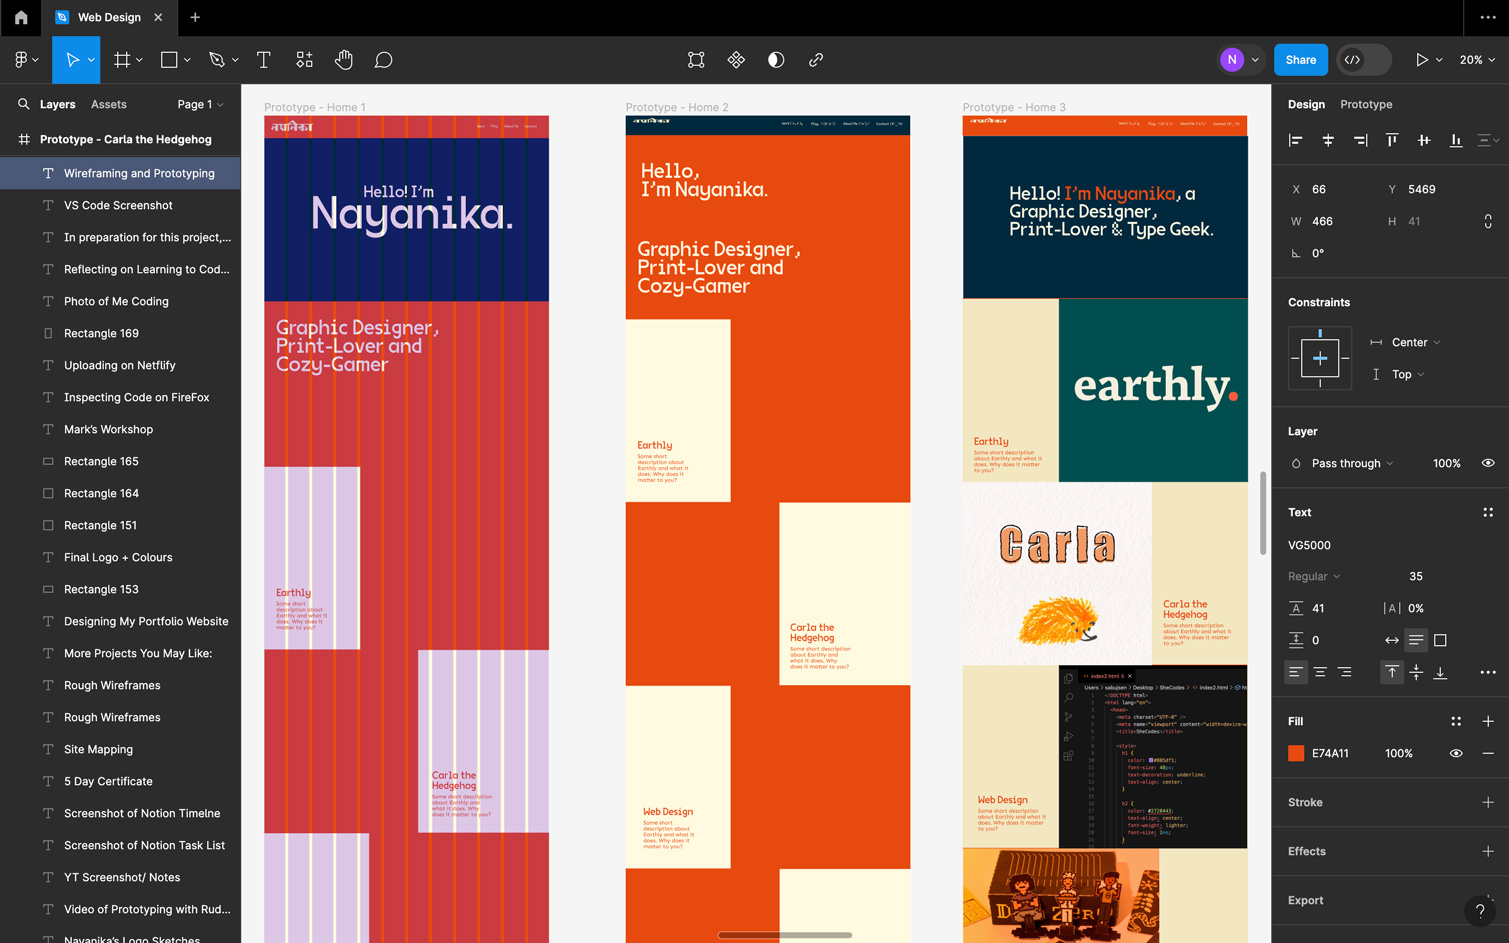
First, I created content by writing overviews for each project, compiling images, and establishing a presentation hierarchy. While drafting wireframes and prototypes, I referred to various websites for design inspiration.
I refined ideas and experimented with layouts on Figma, providing a visual preview before coding. Testing my wireframe on Figma highlighted the need for a few adjustments:
- I needed to cut down on content and pace it well.
- Images and font sizes needed to be optimised for the web.
- Creating a better visual hierarchy for long-form copy.
- Addressing predictability by breaking the layout occasionally.
Iterating Designs
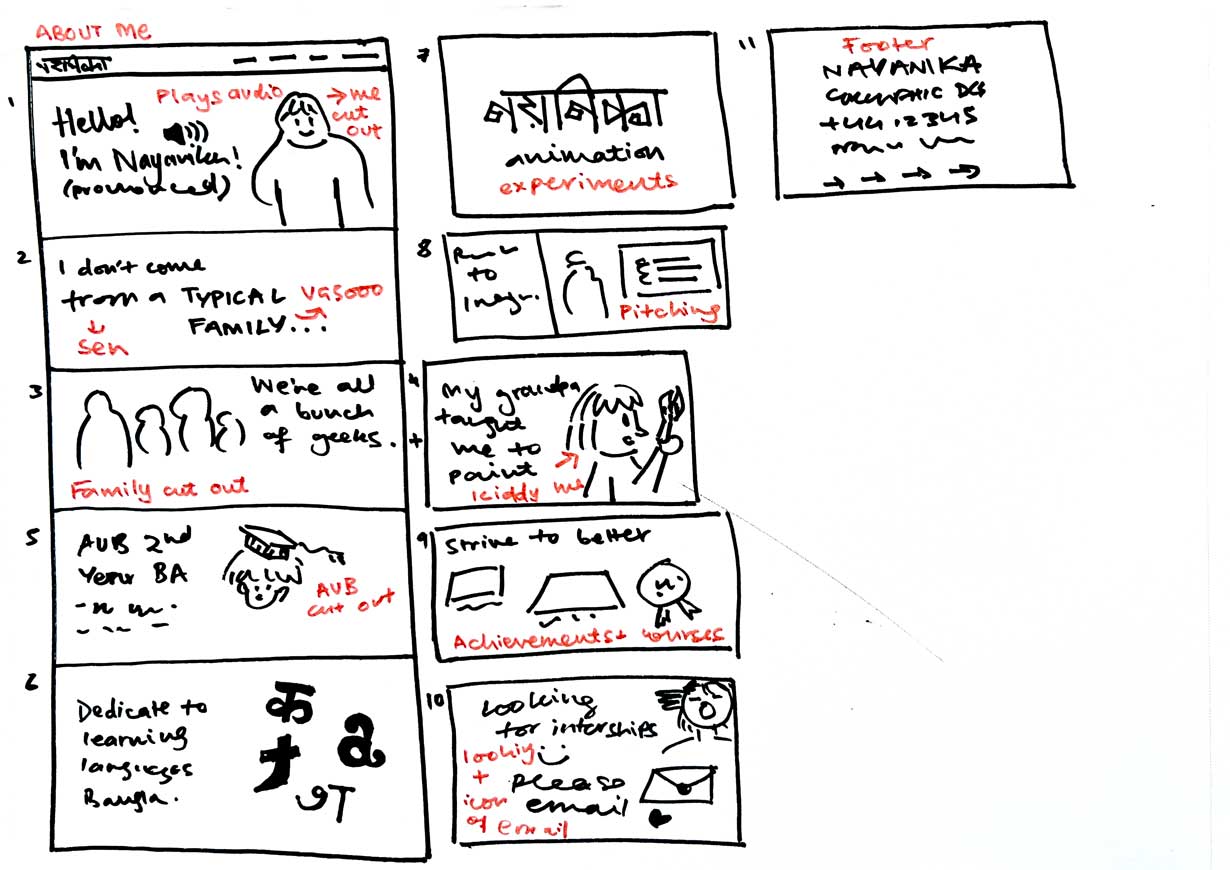
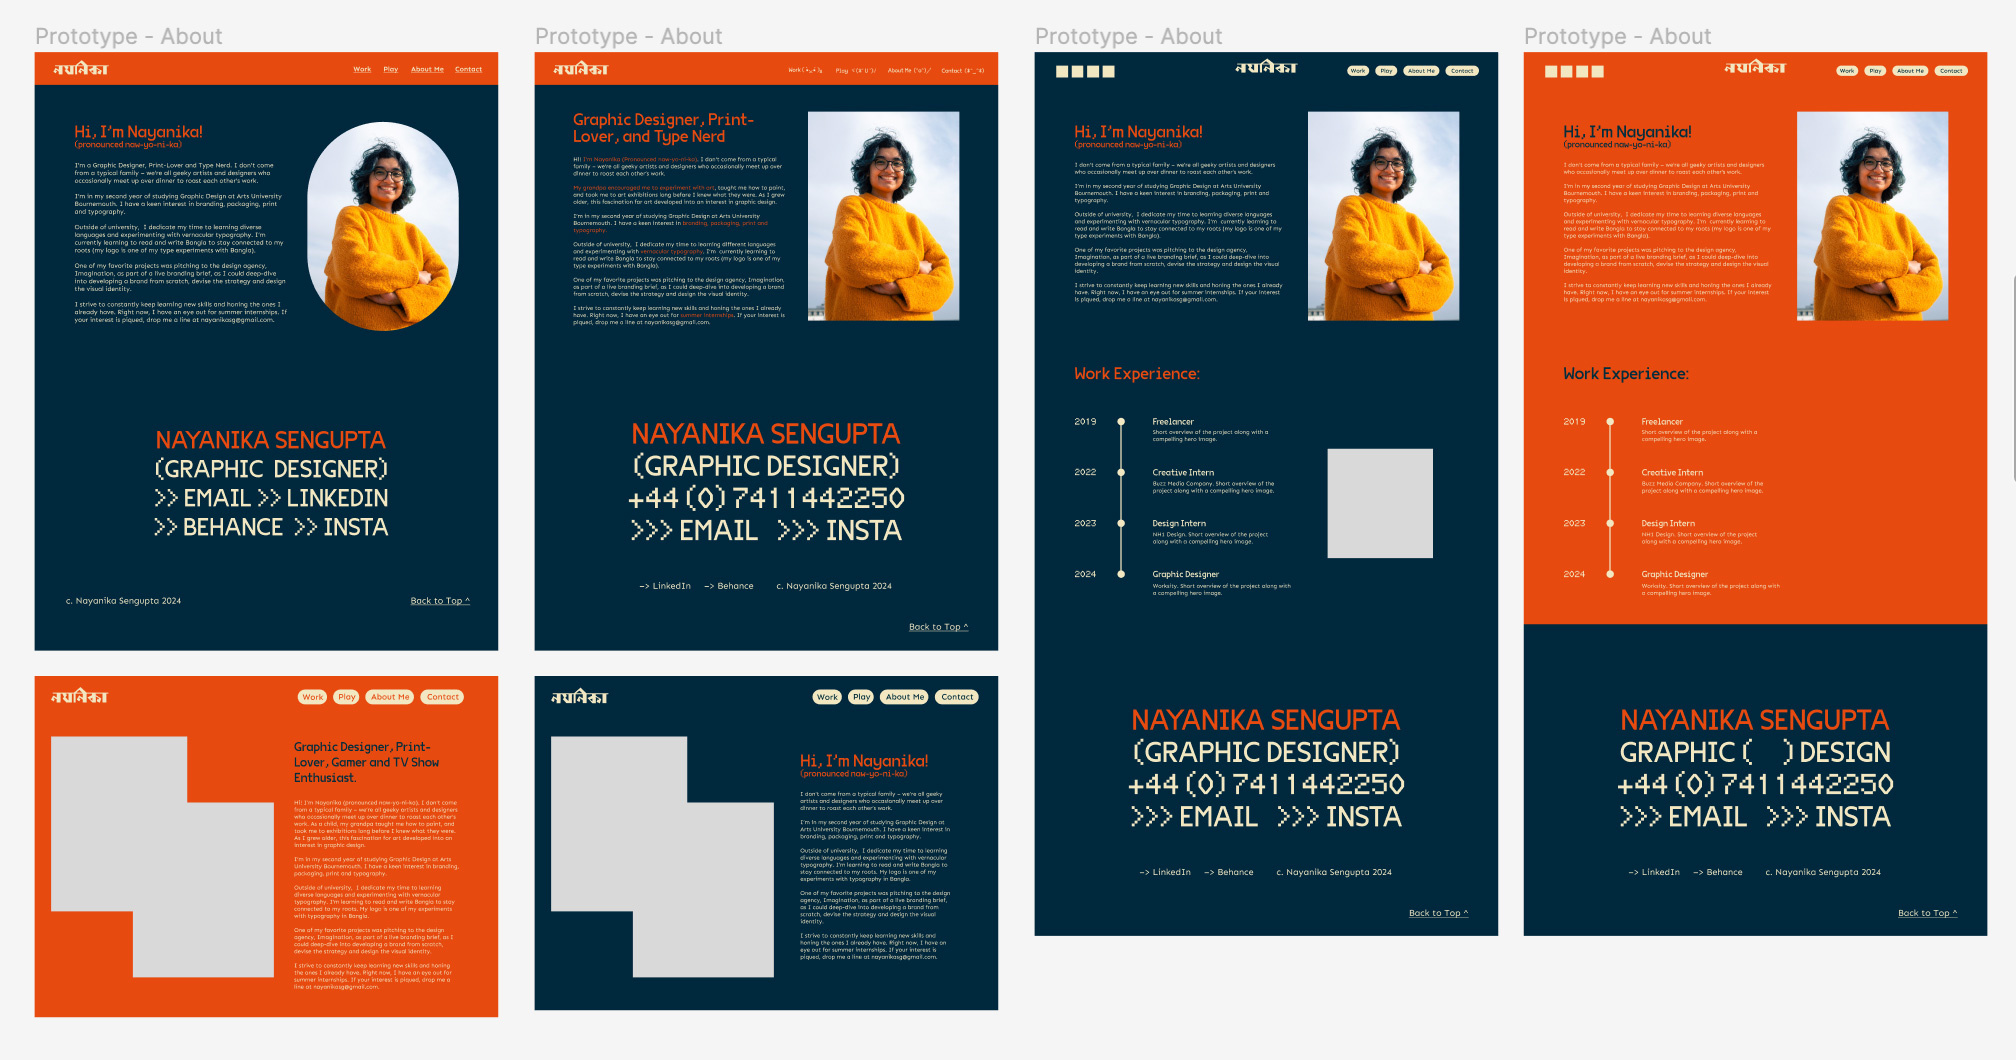
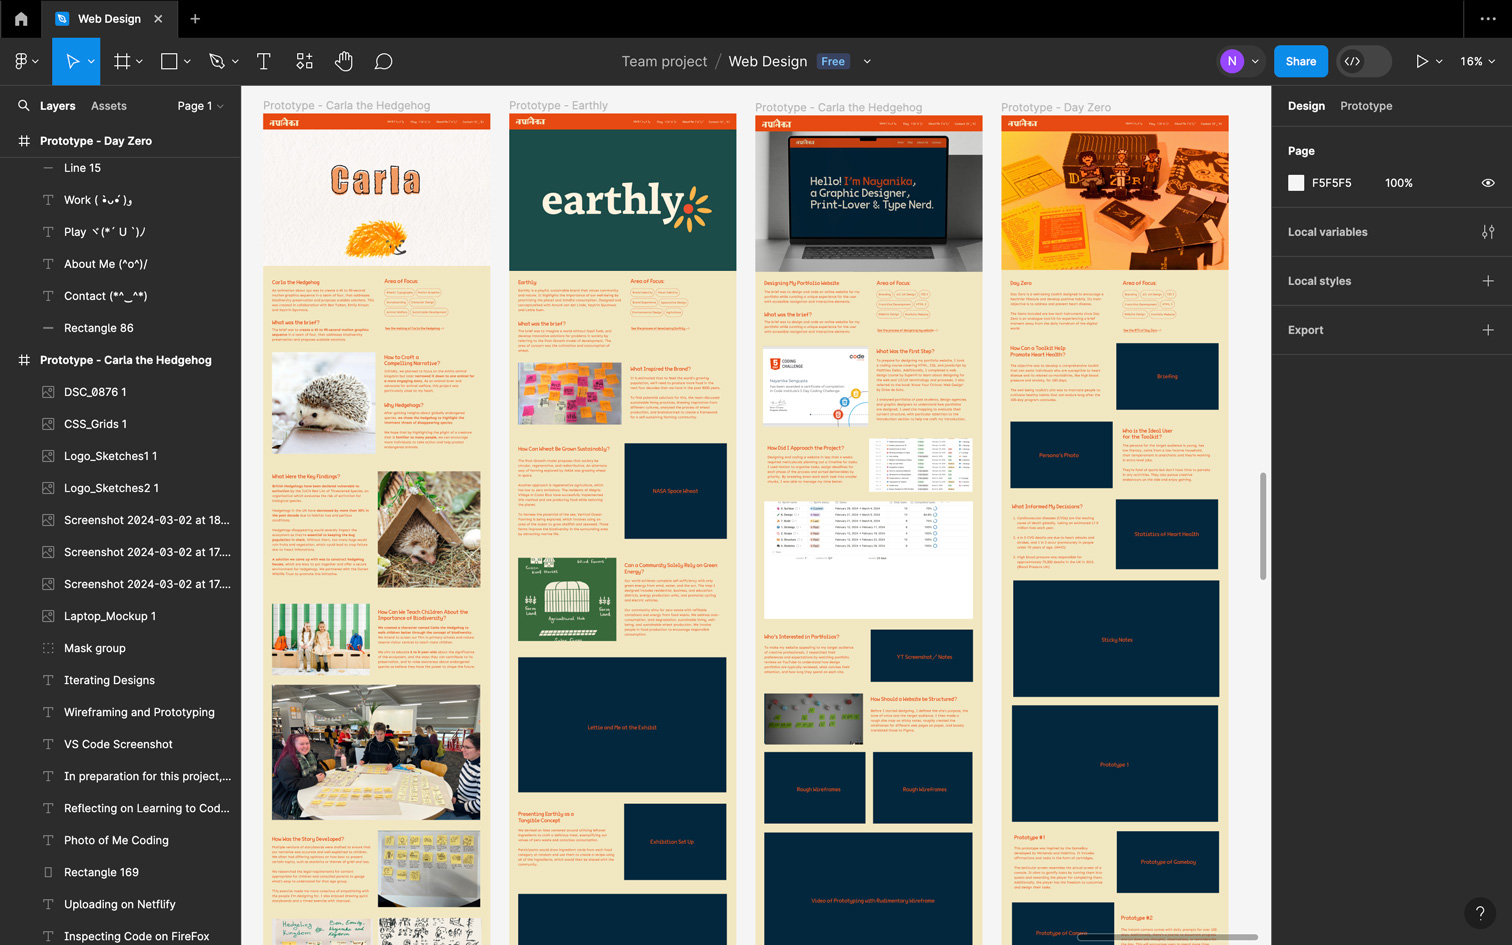
Embracing an iterative process, I reconsidered design principles, consulted peers, and designed multiple versions of wireframes and prototypes. I realised I was thinking in terms of designing static pages instead of crafting a website that told a story, much like a webtoon.
Designing an Accessible and User-Friendly Website
I user-tested the working prototypes on Figma before coding the website to ensure it is user-friendly and has intuitive navigation.
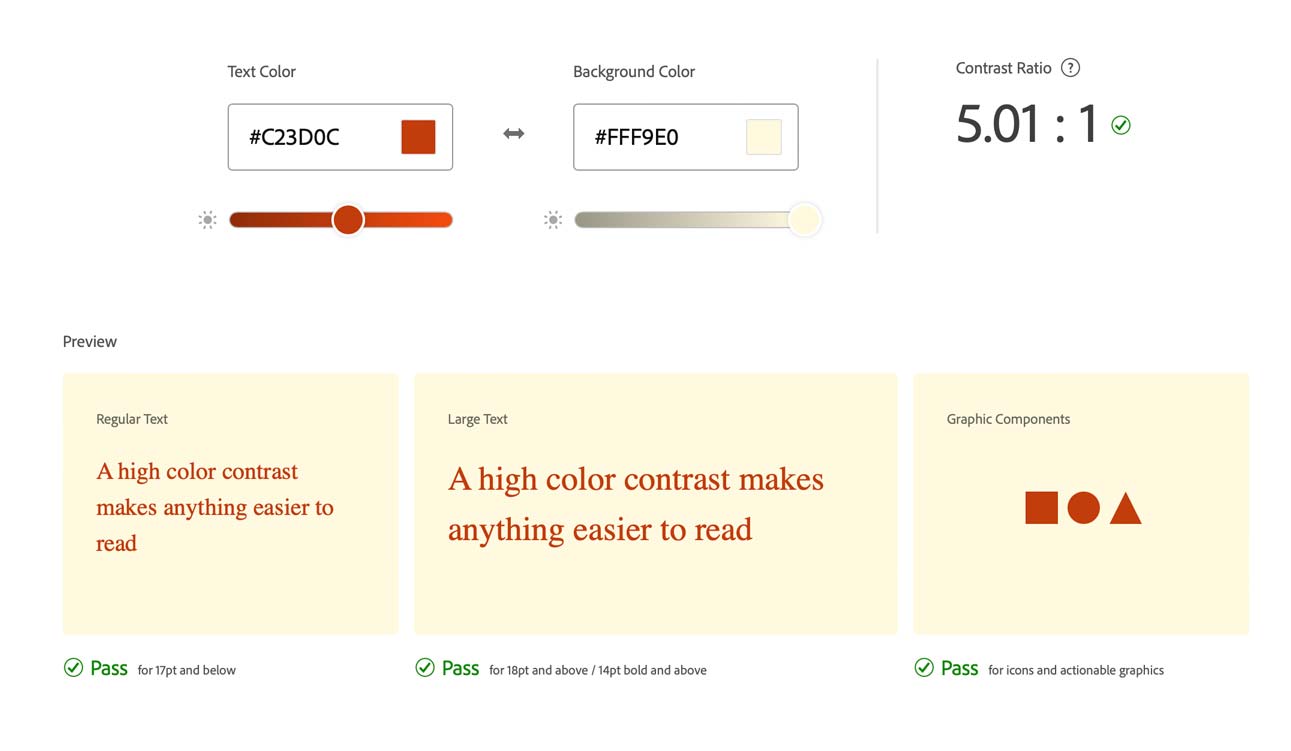
To ensure accessibility, I adopted color-blind-friendly palettes and legible typography during the prototyping stage. The process of ideation, prototyping, building, testing, and refinement resulted in a website that takes the reader on a meaningful journey, narrating each project's story.
Sustainable Design
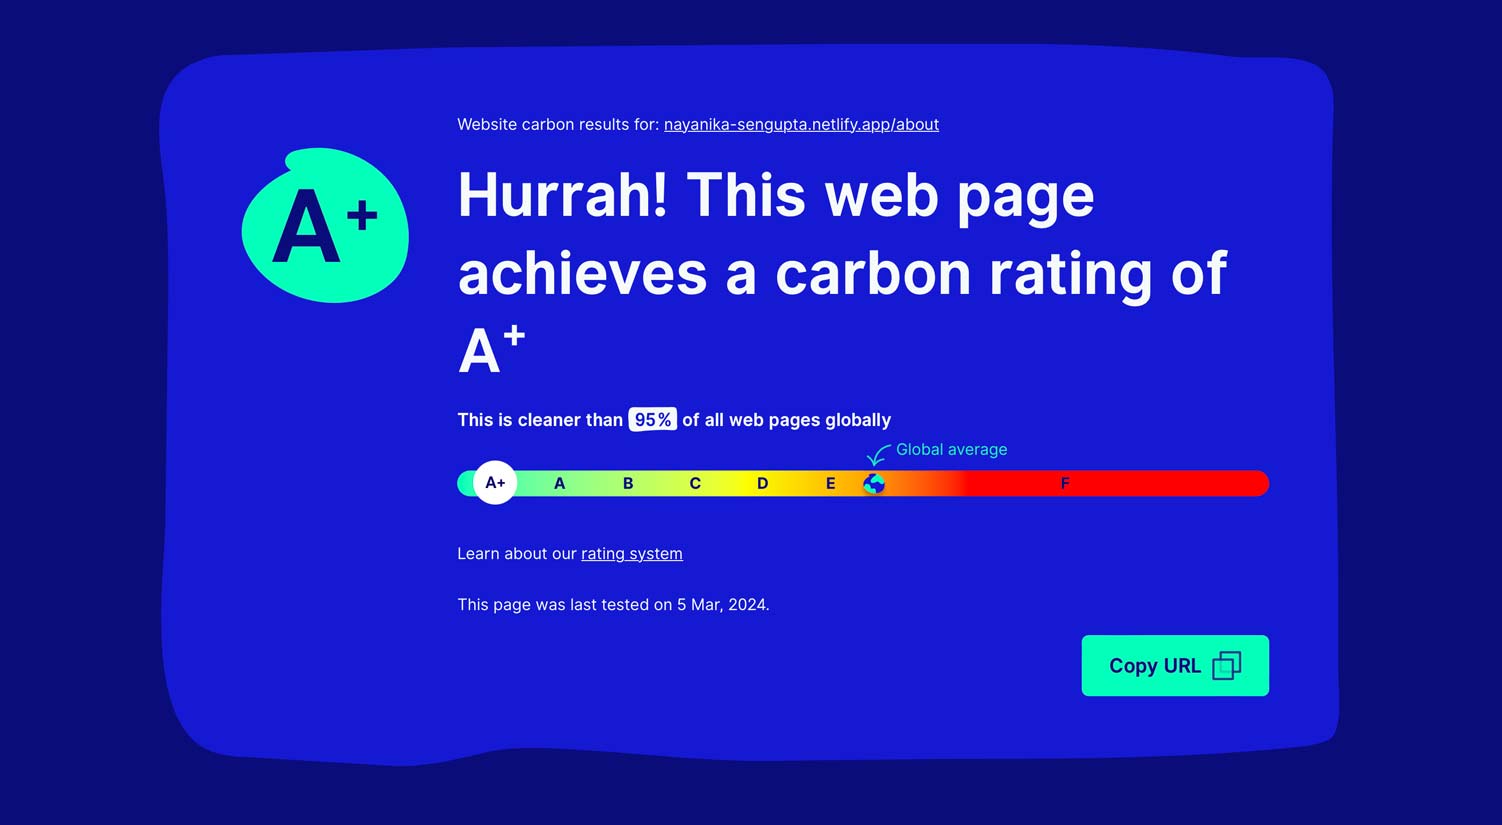
Hosting a webiste requires xyz energy. Globally that’s abc consumed! To reduce my carbon footprint, I tested my website to ensure that it’s the greenest it can be.
How Can I Best Represent Myself?
I was a bit apprehensive about personal brand at first, so I enrolled in a LinkedIn webinar, ‘How to Build a Strong Brand in 2024’ which covered the basics of personal branding, how to stand out and how to convey your story.
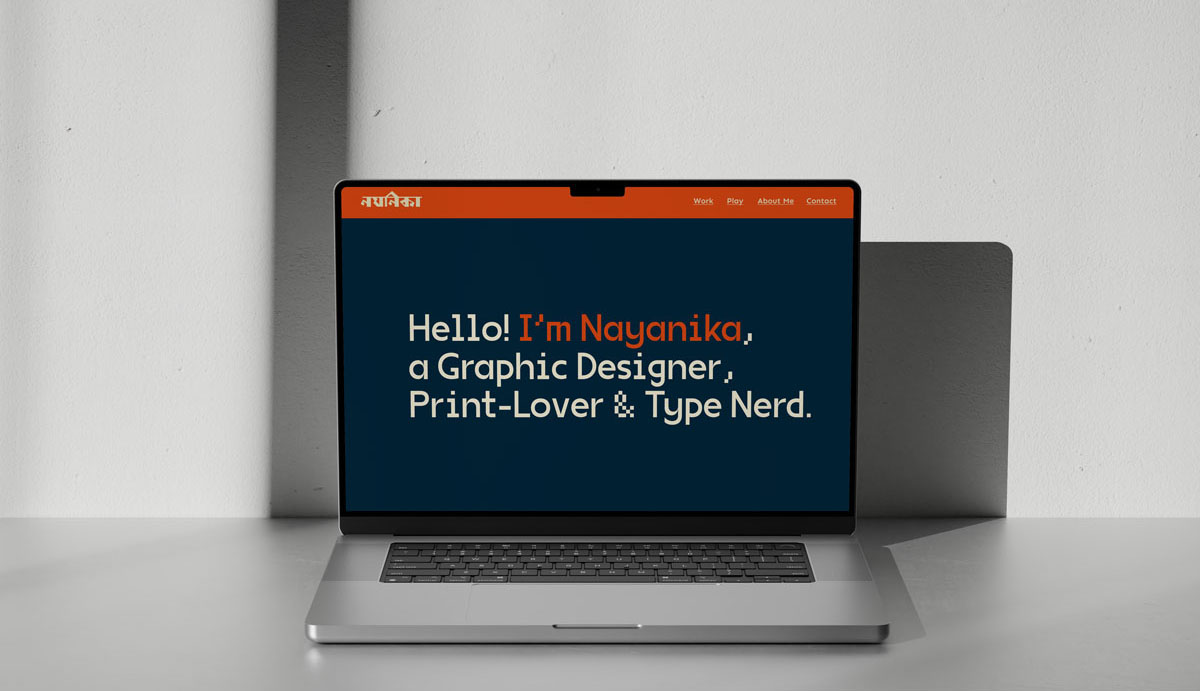
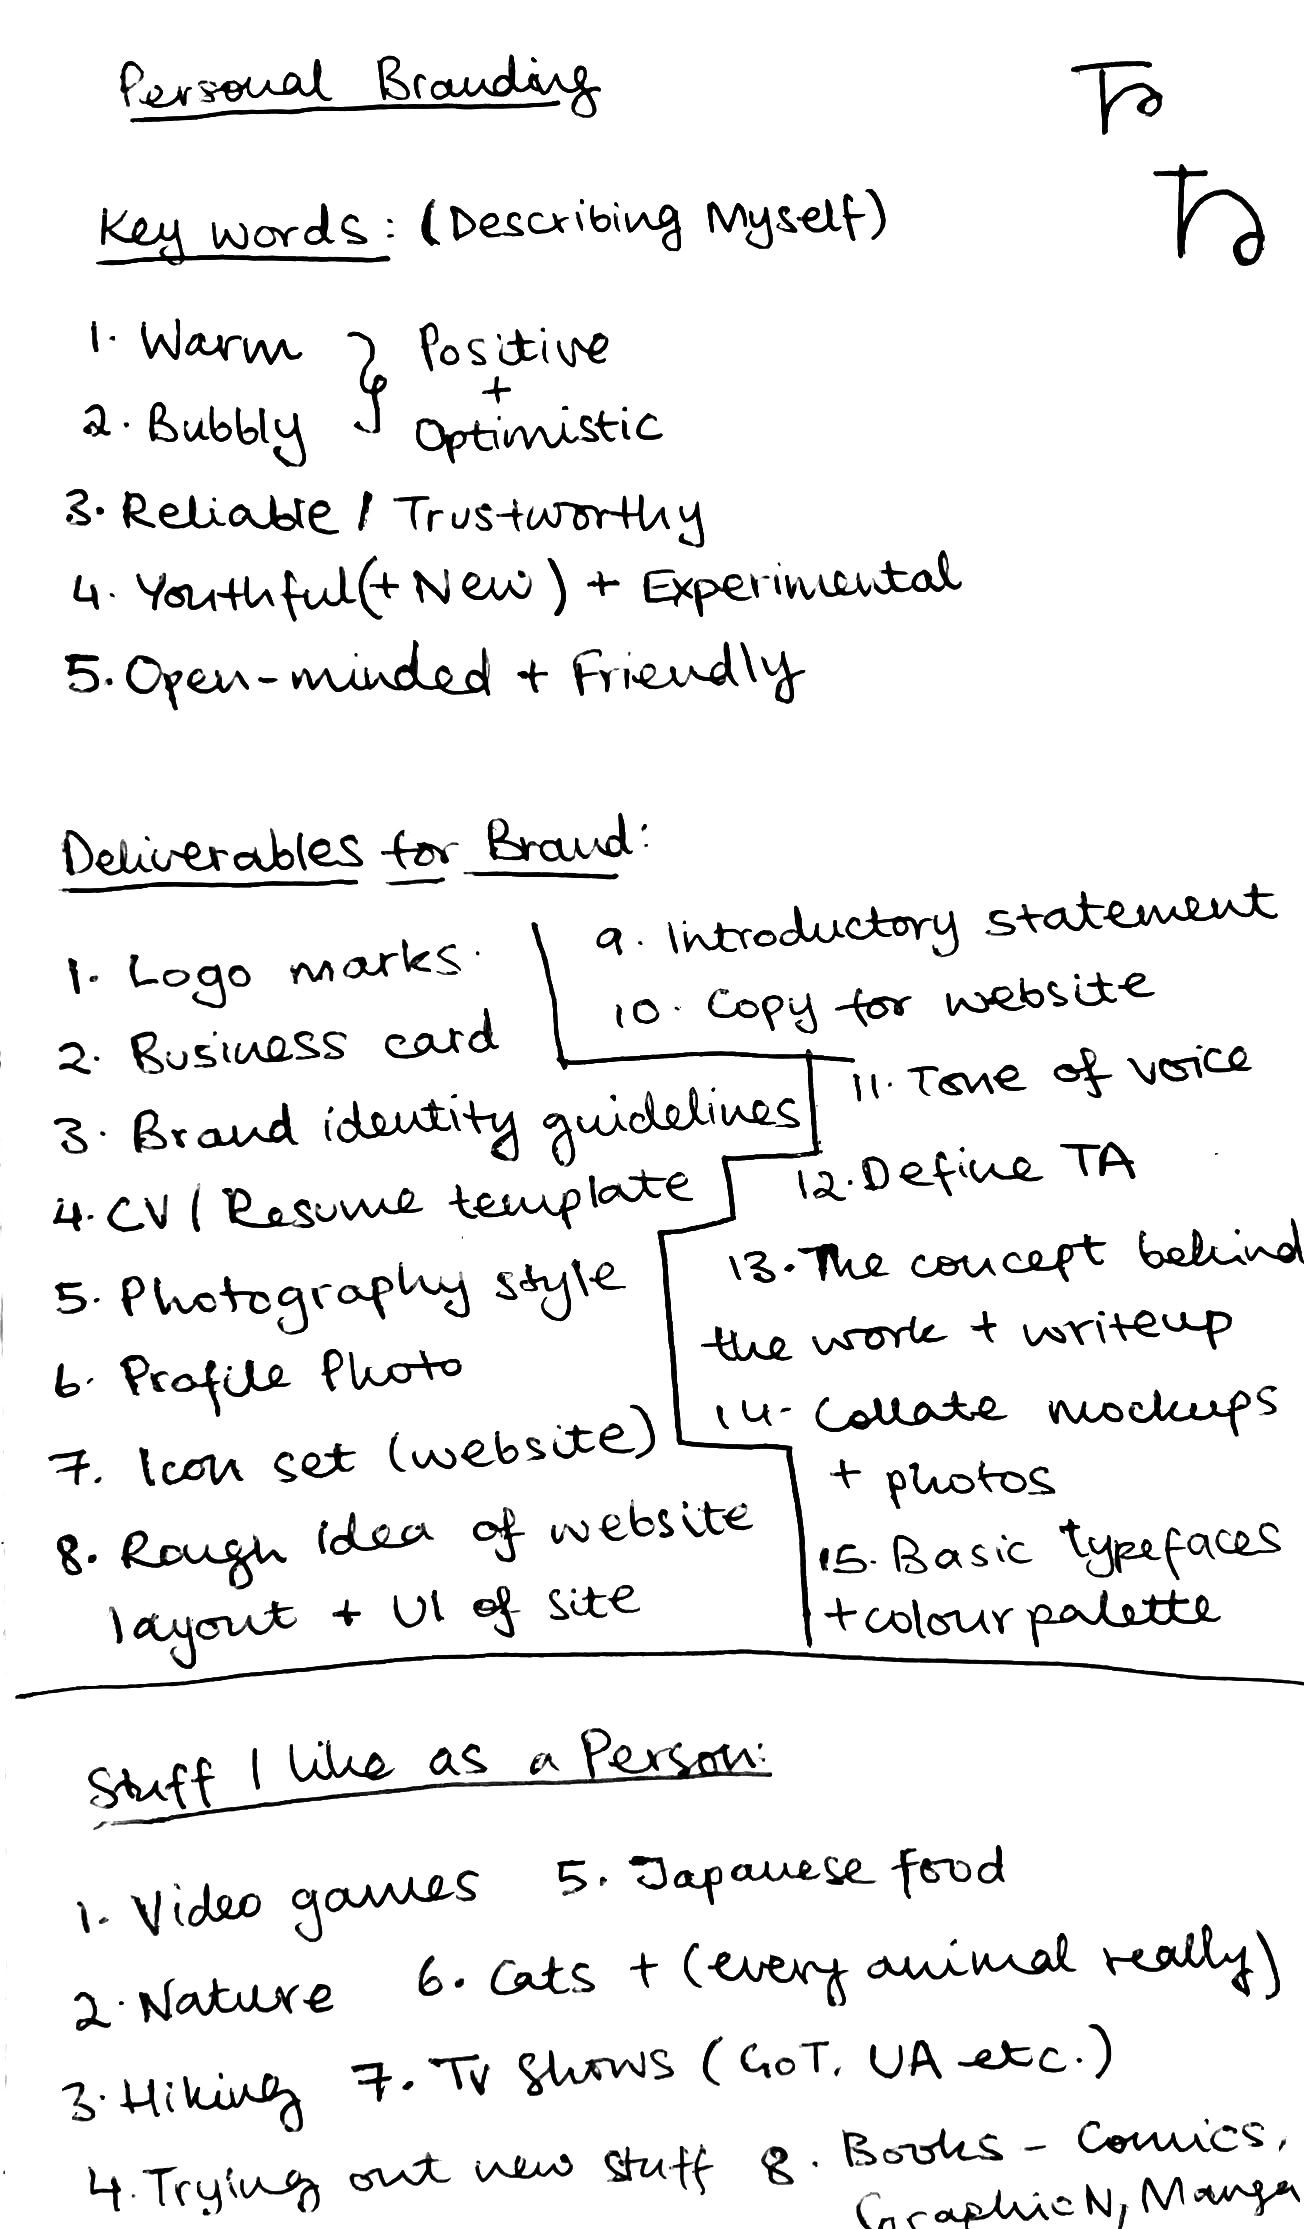
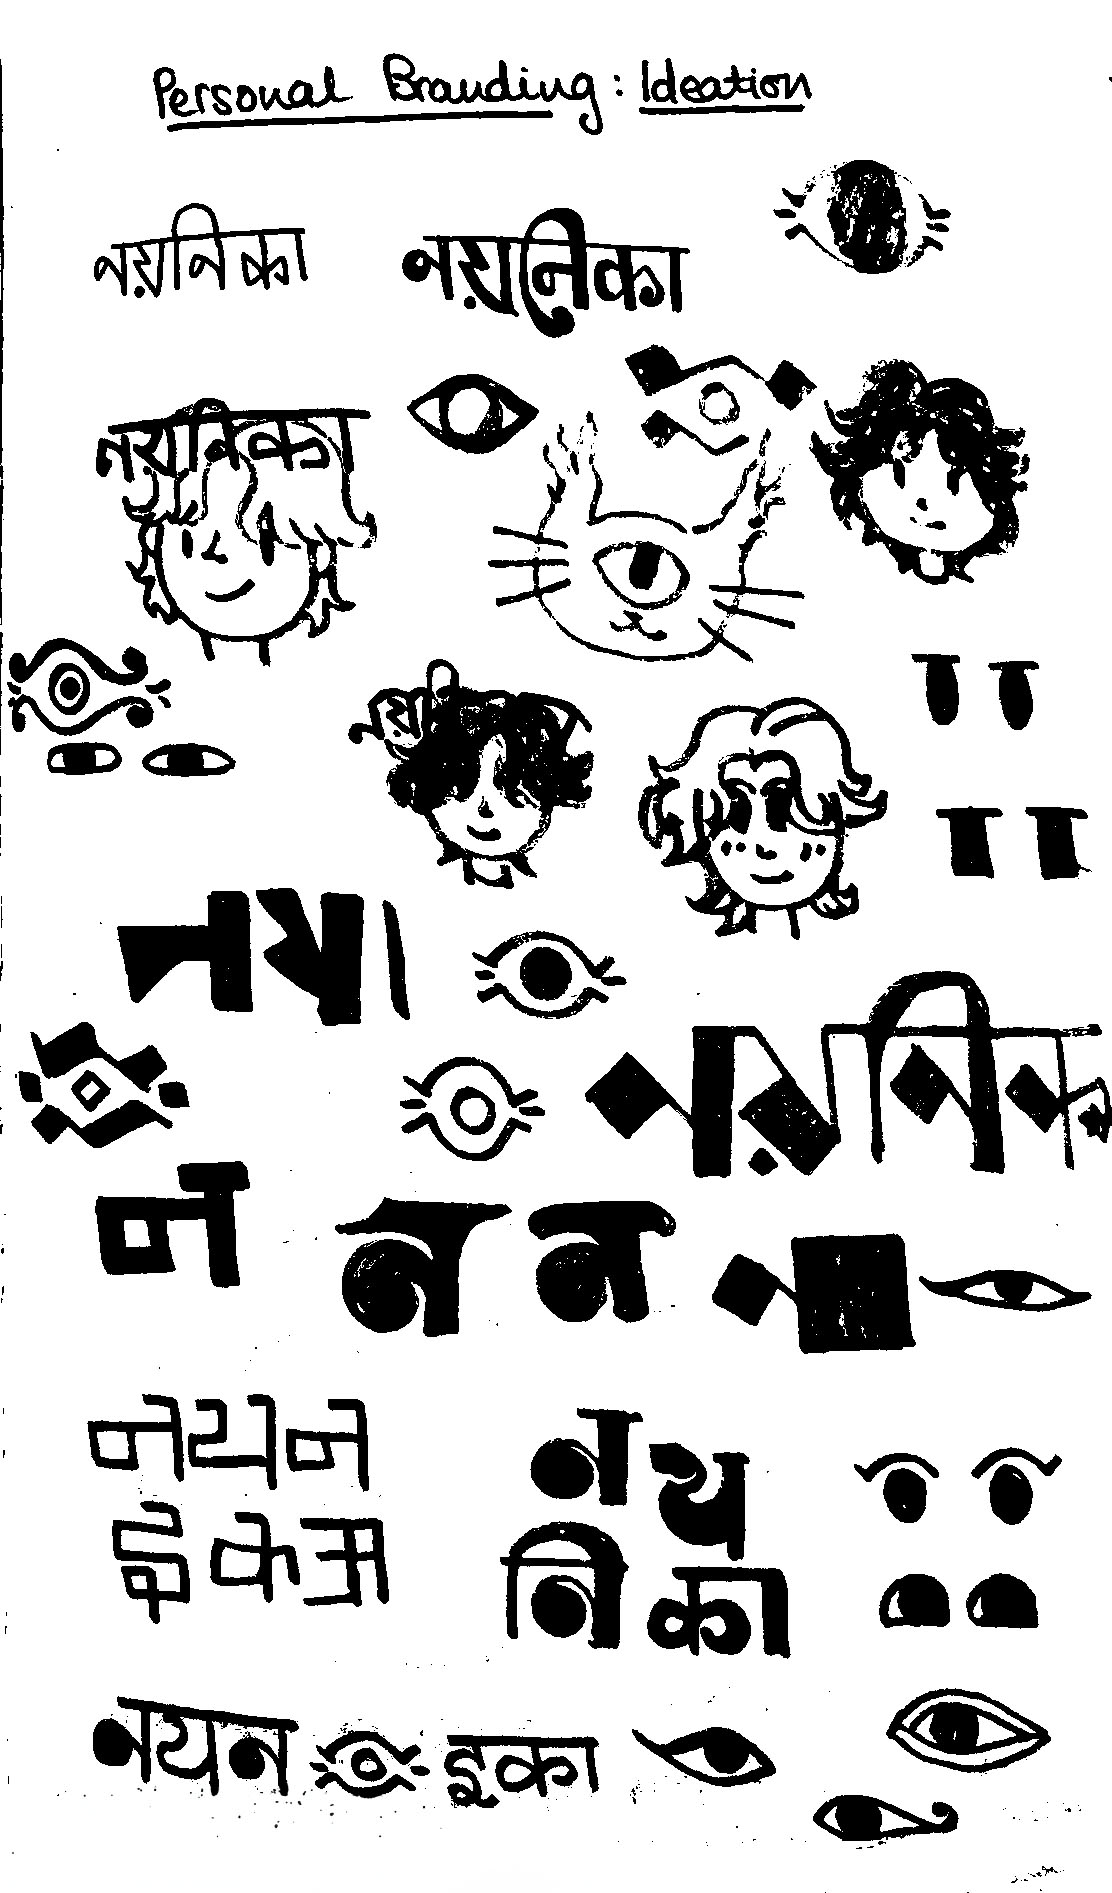
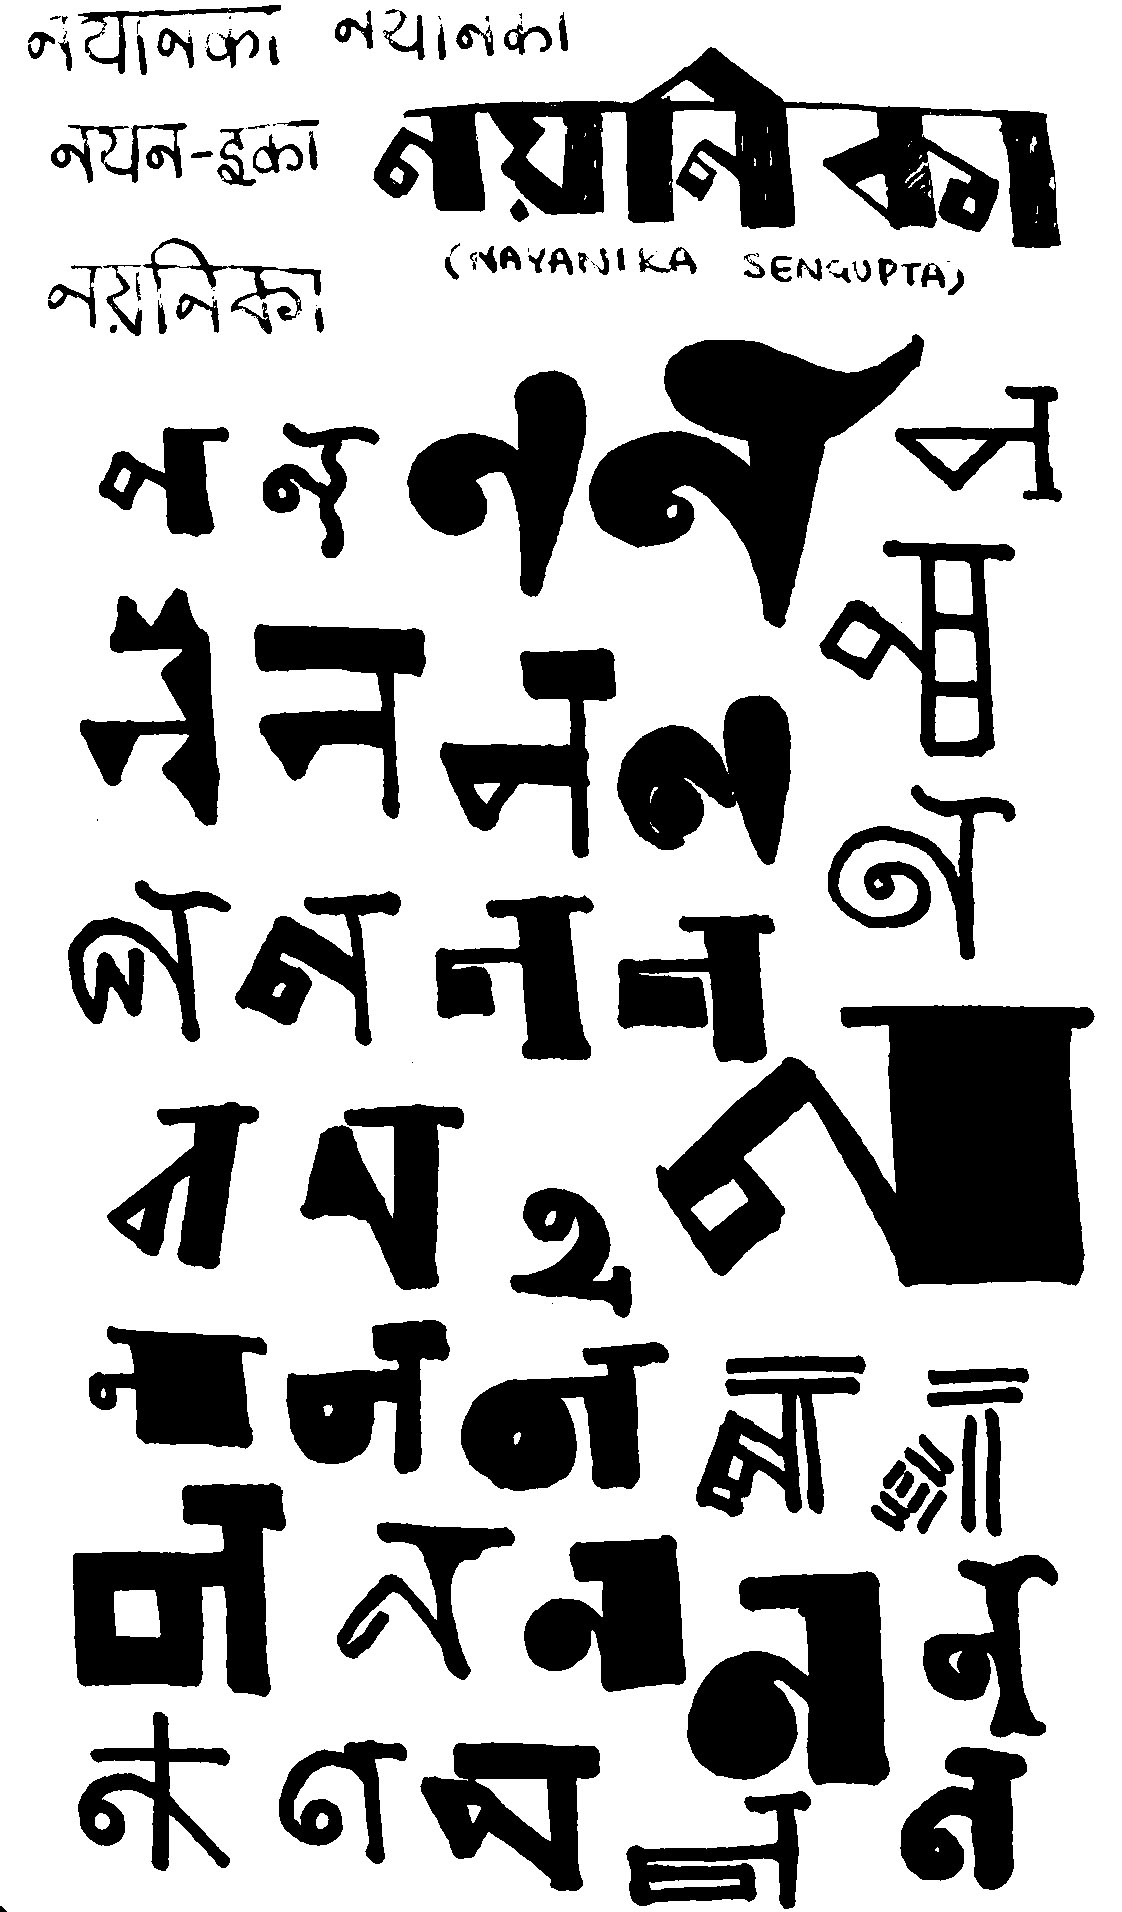
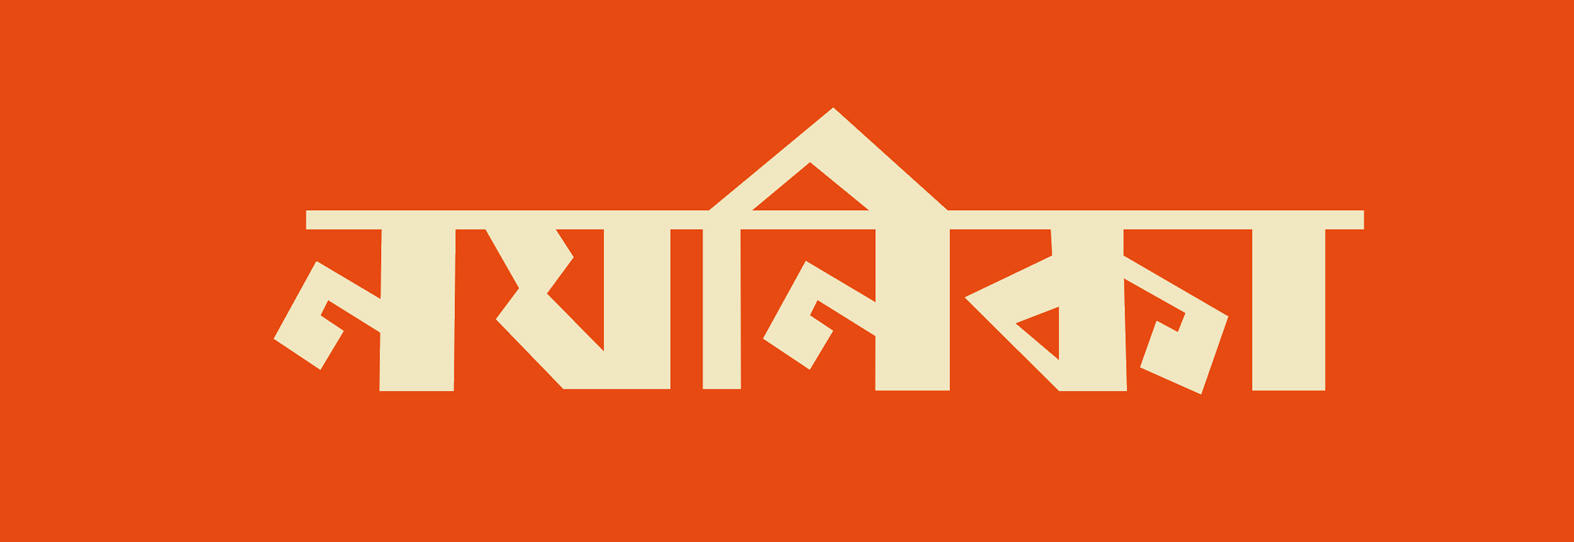
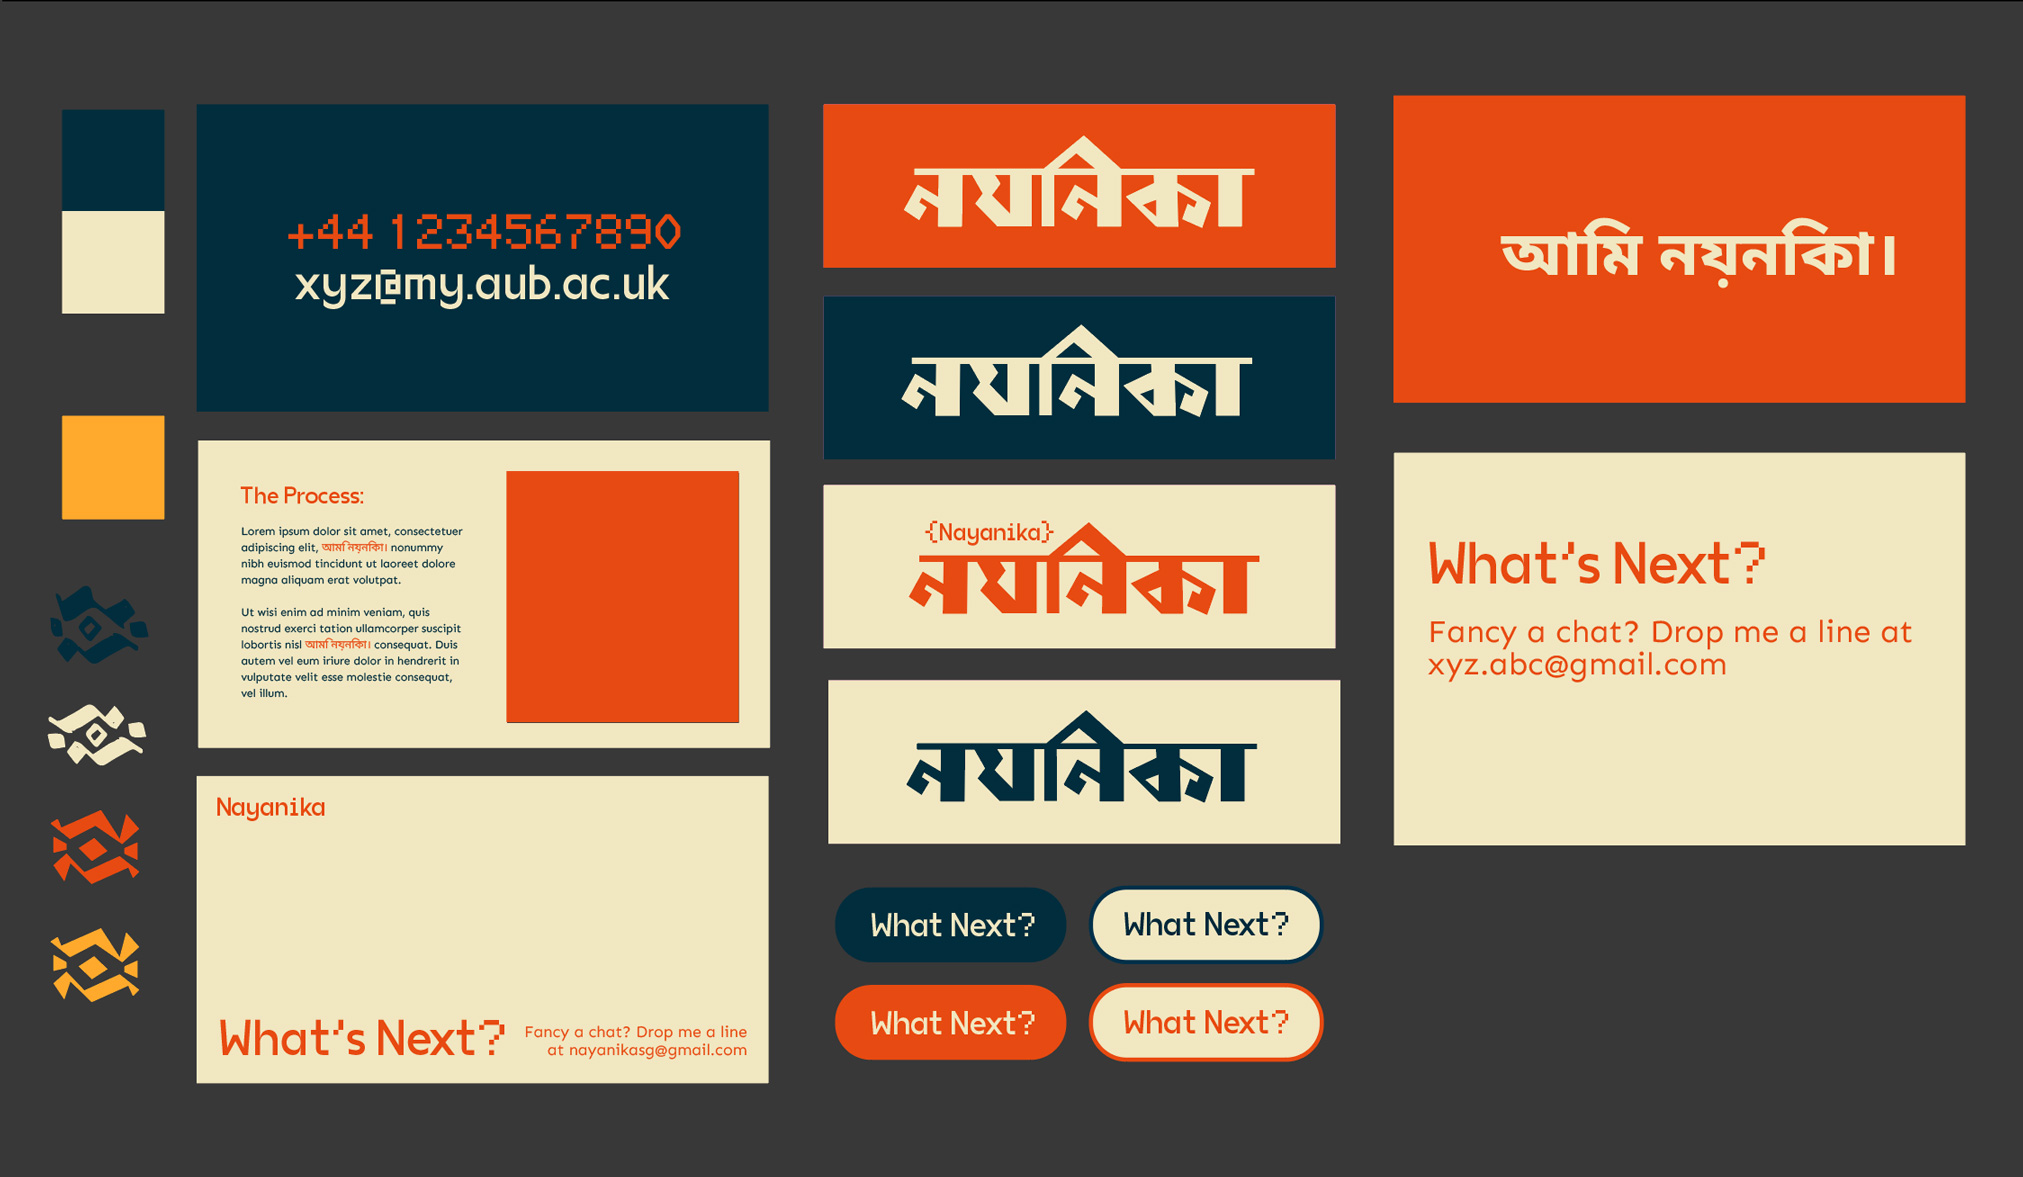
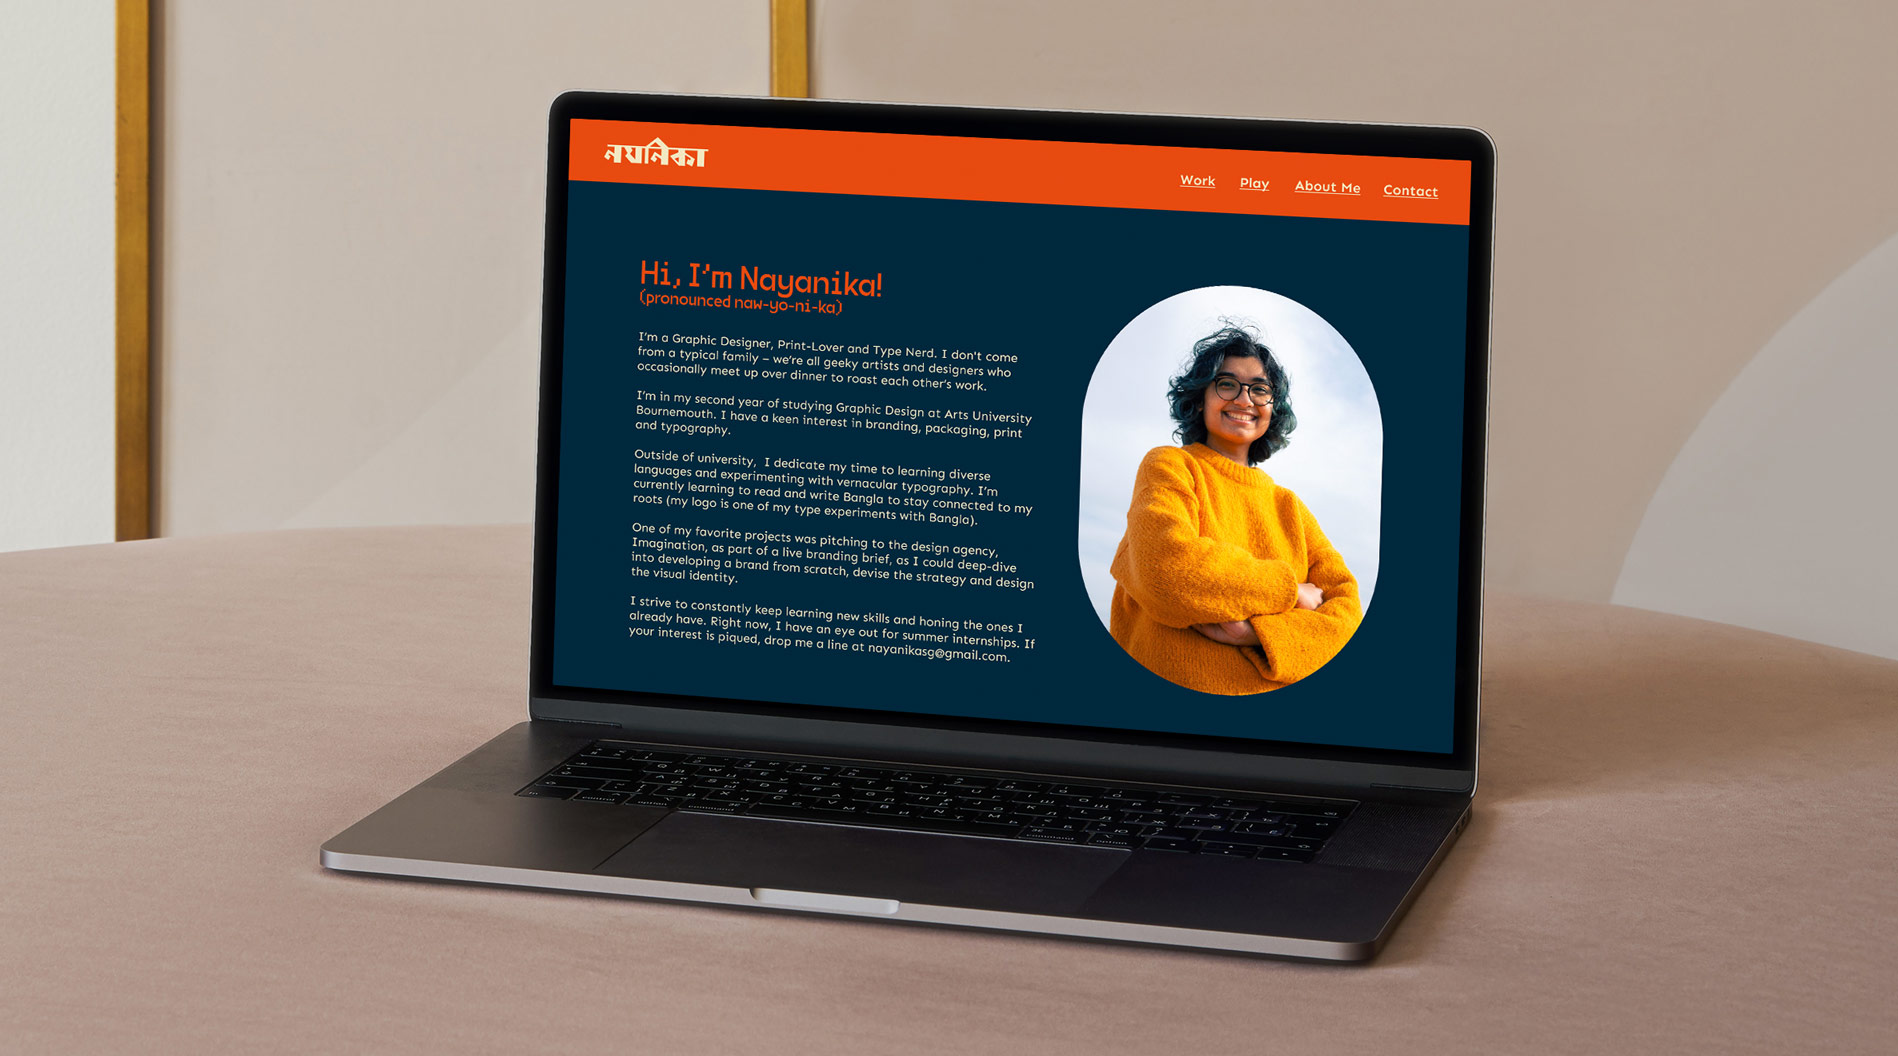
I designed this website to be my initial interaction with potential recruiters, aiming to convey my personality, design interests, and work. The logo features my name in Bangla, reading Nayanika, reflecting my fascination with vernacular-type design. It serves as a graphic word mark, celebrating my roots.
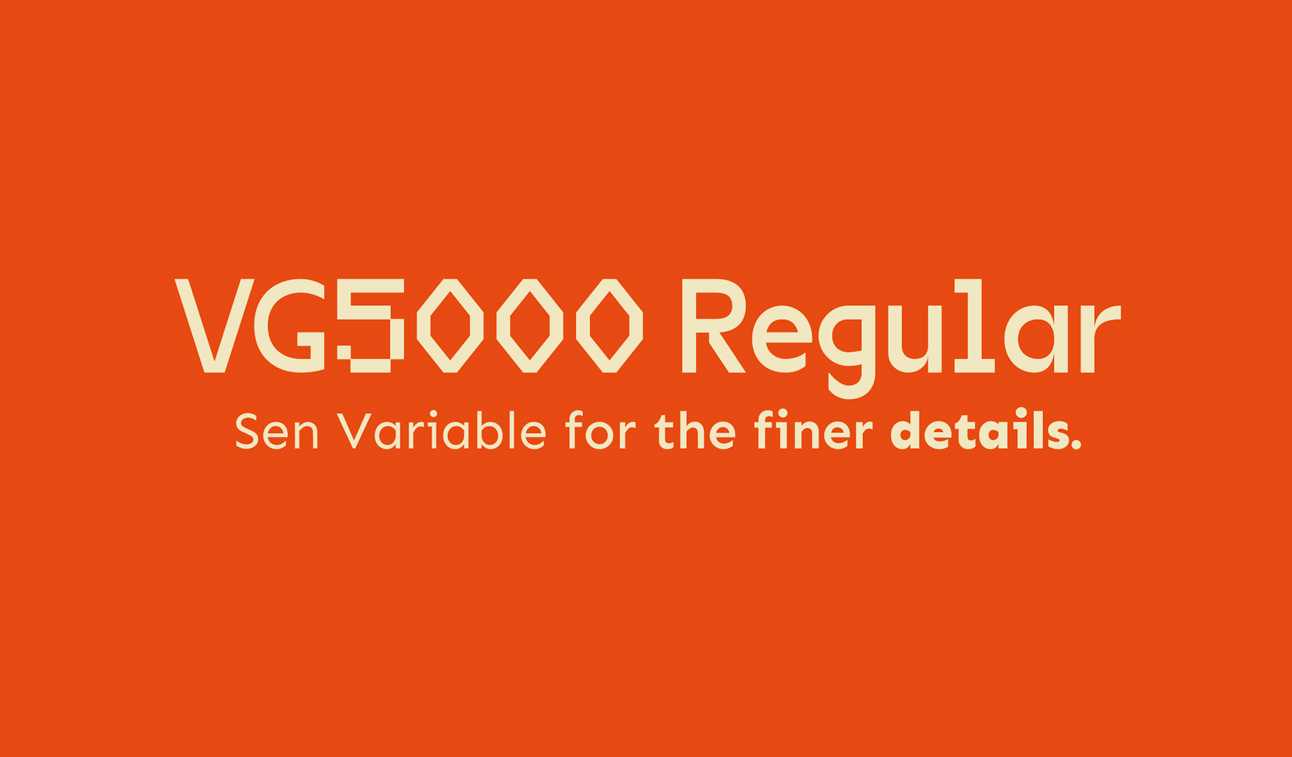
The colour palette is inspired by my warm and bubbly personality, underwent accessibility testing. For headings, I chose VG5000 to express my affinity for pixel art, complemented by Sen, a variable sans-serif typeface.
Giving Form to the Website – Coding
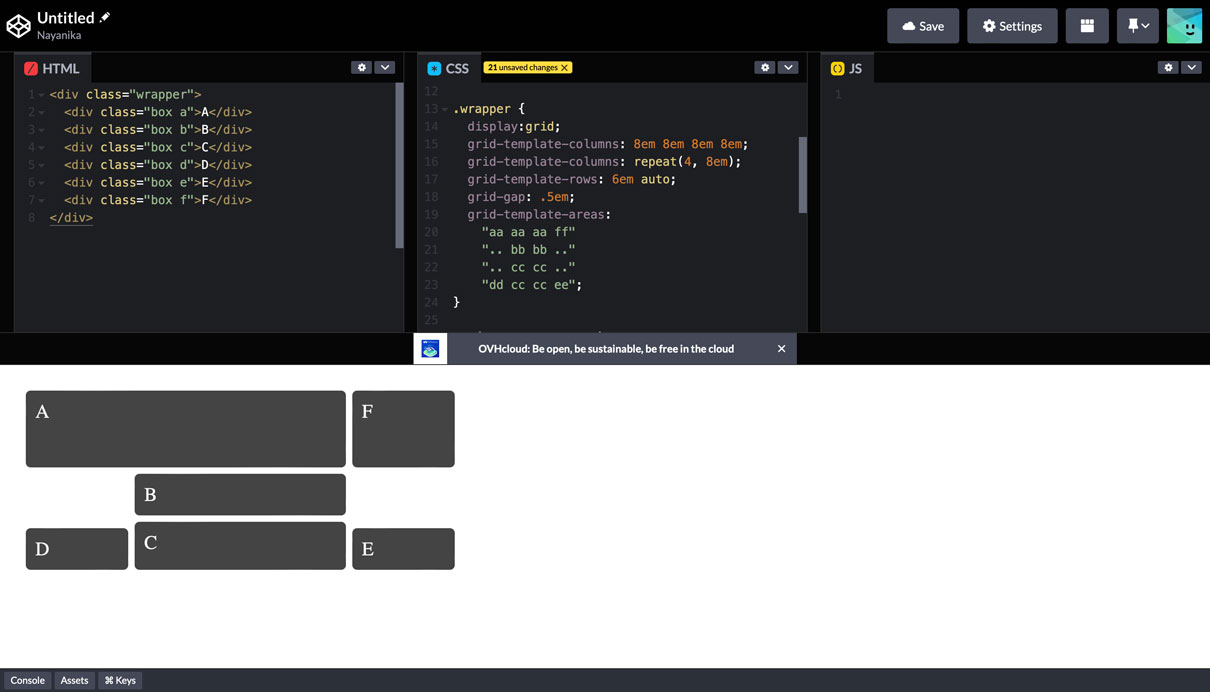
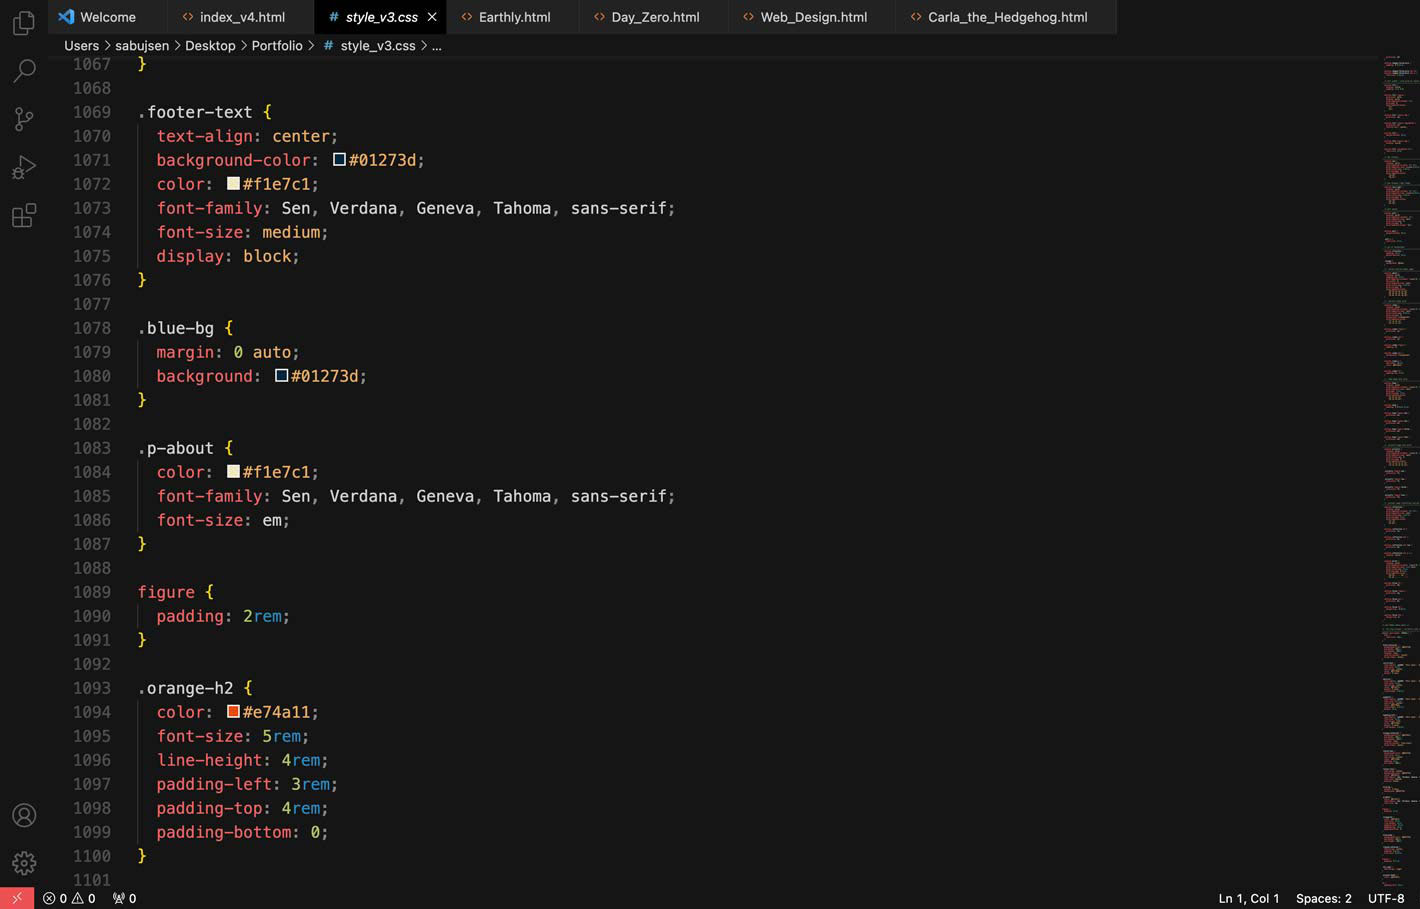
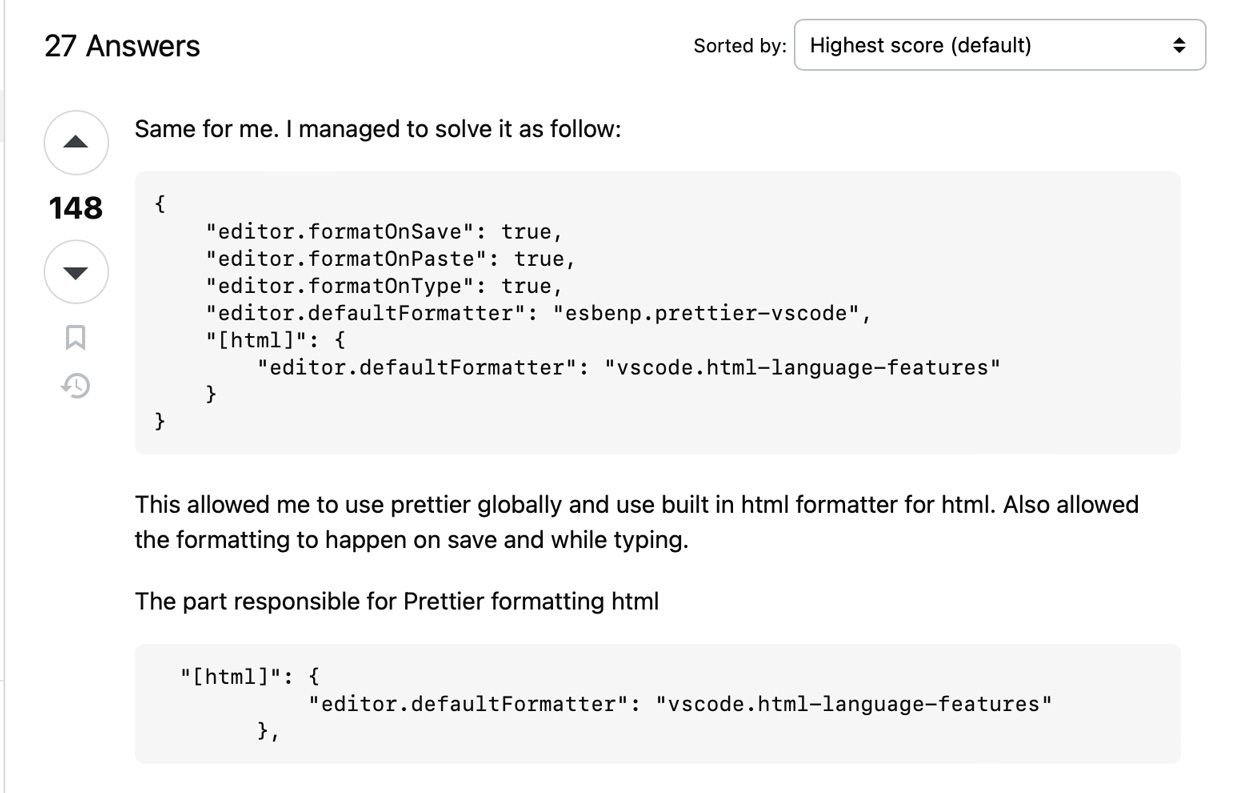
Coding and web design was something I've always been intrigued by, and this project let me finally delve into web design. Throughout my process, I used VS Code for writing my code and used extensions like Prettier to streamline my workflow and check errors in my code.
In a workshop by Mark Osborne, I was introduced to CSS grids for content visualisation. Initially it was challenging but I soon understood how to manipulate it.
Testing Code
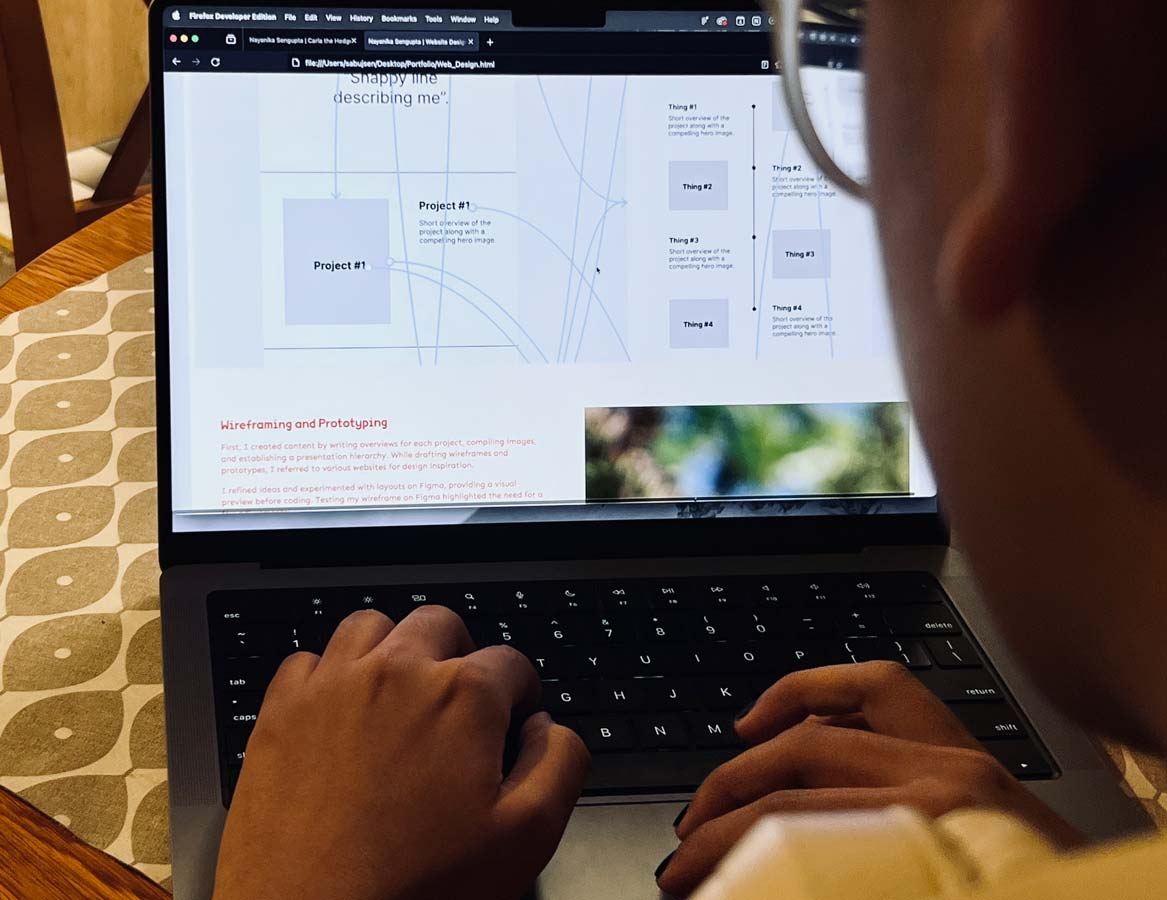
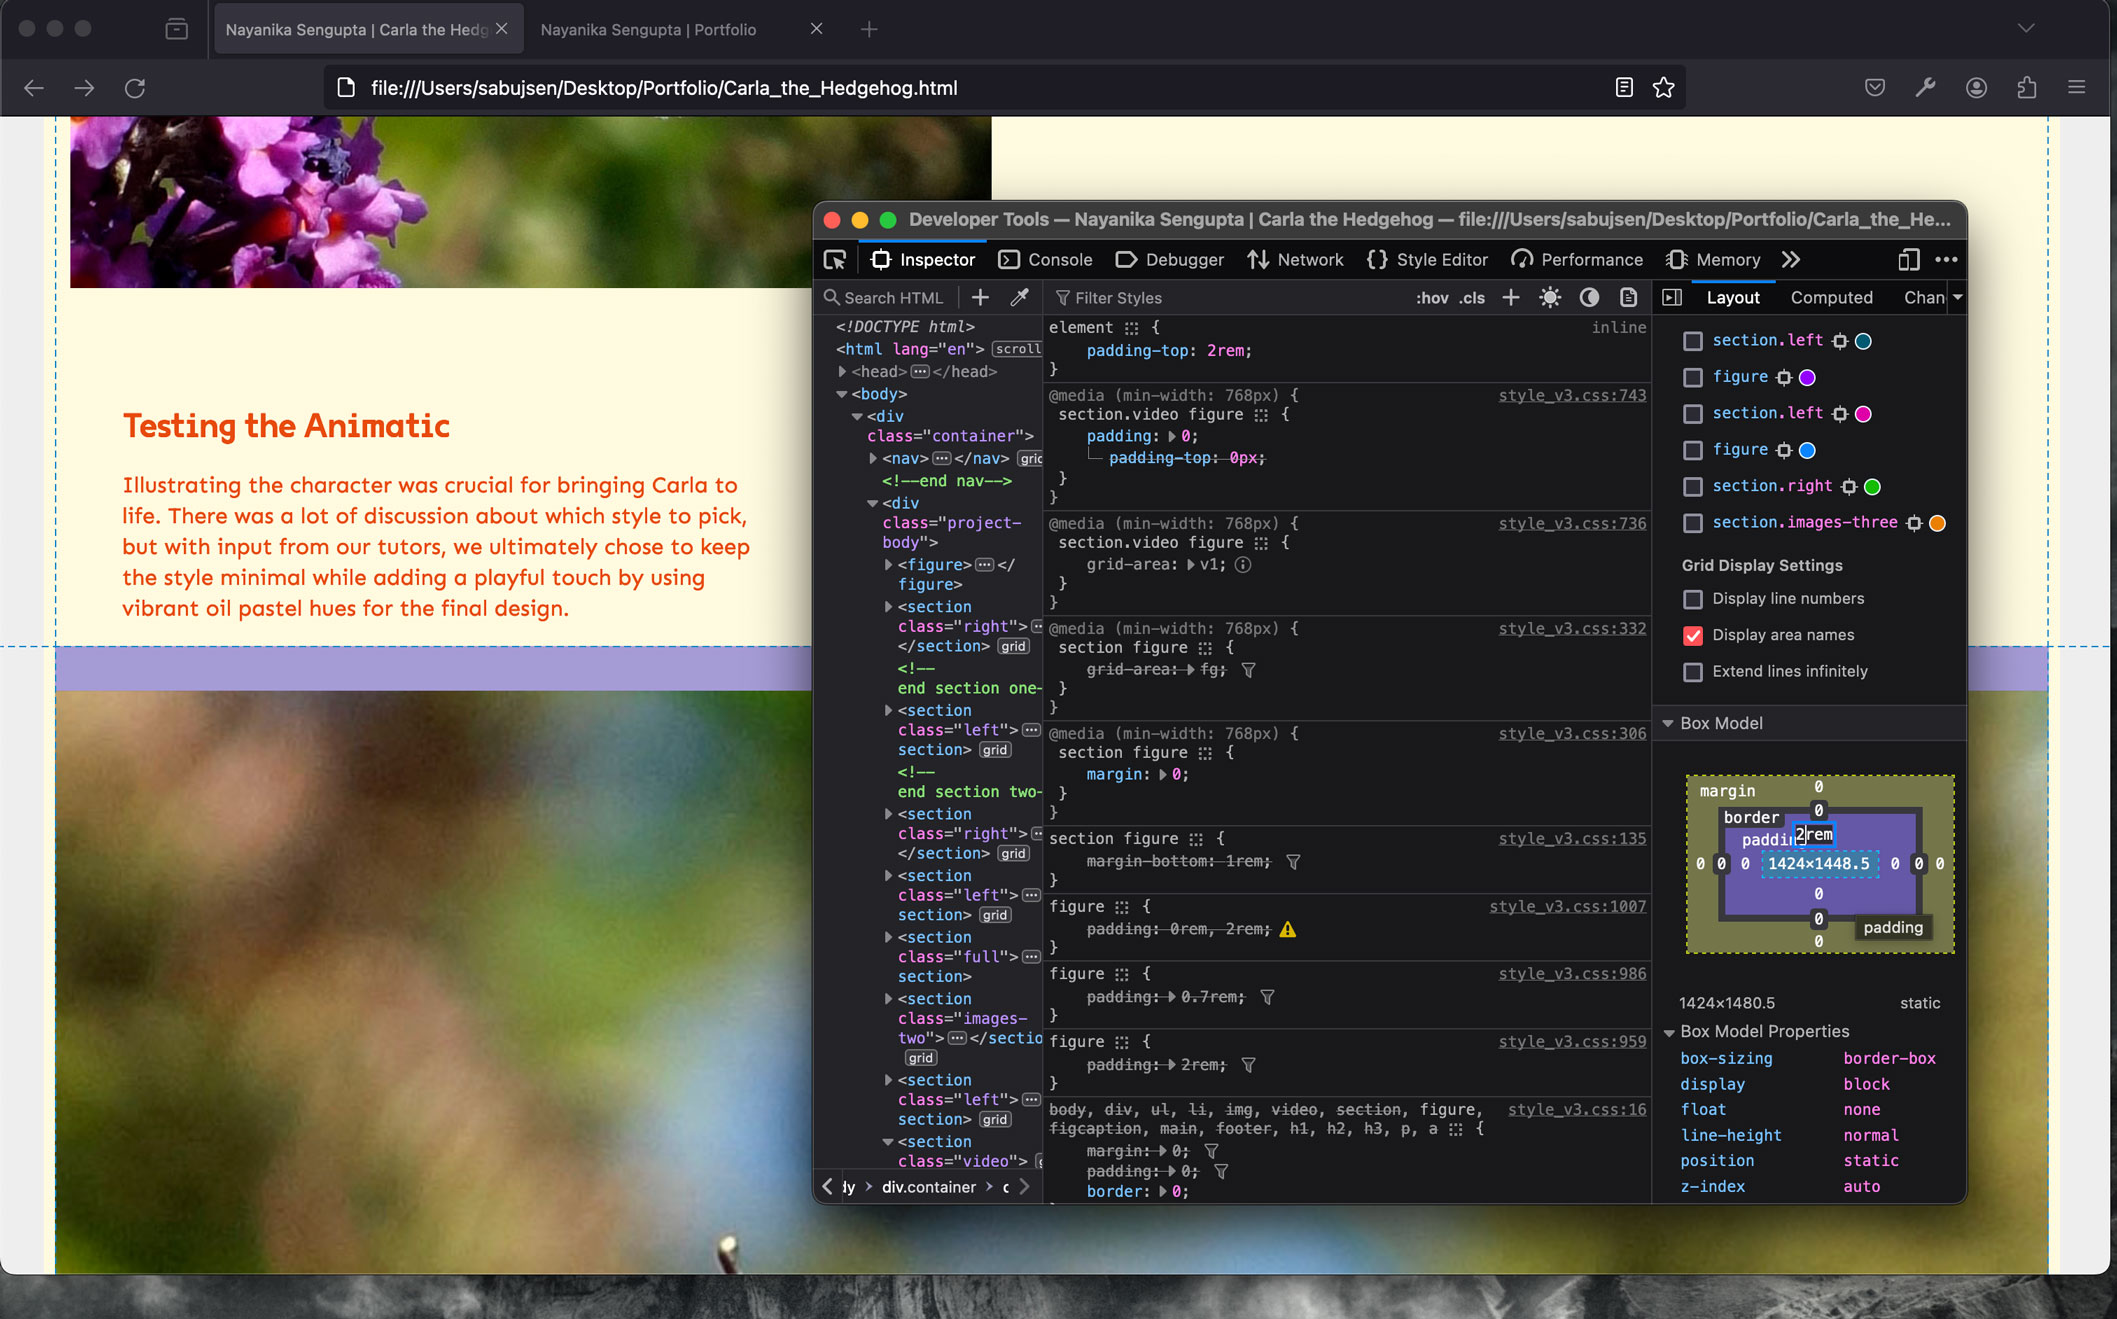
Exploring web design through this project, I used VS Code and extensions like Prettier for efficient coding. I ensured cross-browser compatibility by testing on Safari, Chrome, and Firefox Developer. I conducted another phase of user testing once I had the basic structure of my website coded.
I also experimented with animating SVGs in CSS. This took a while to learn as I’m relatively new to animating elements. I referred to CSS Tricks and Mili Codes for animating for websites. I consulted Stack Overflow for any troubleshooting.
And the website goes live!

During the user testing for the website, I got feedback to incorporate x, y and z but was told that a, b and c worked well.
Finally, I hosted the website on Netlify and checked for any bugs, missing links or errors with the live site.
Reflecting on Learning to Code and Designing a Website
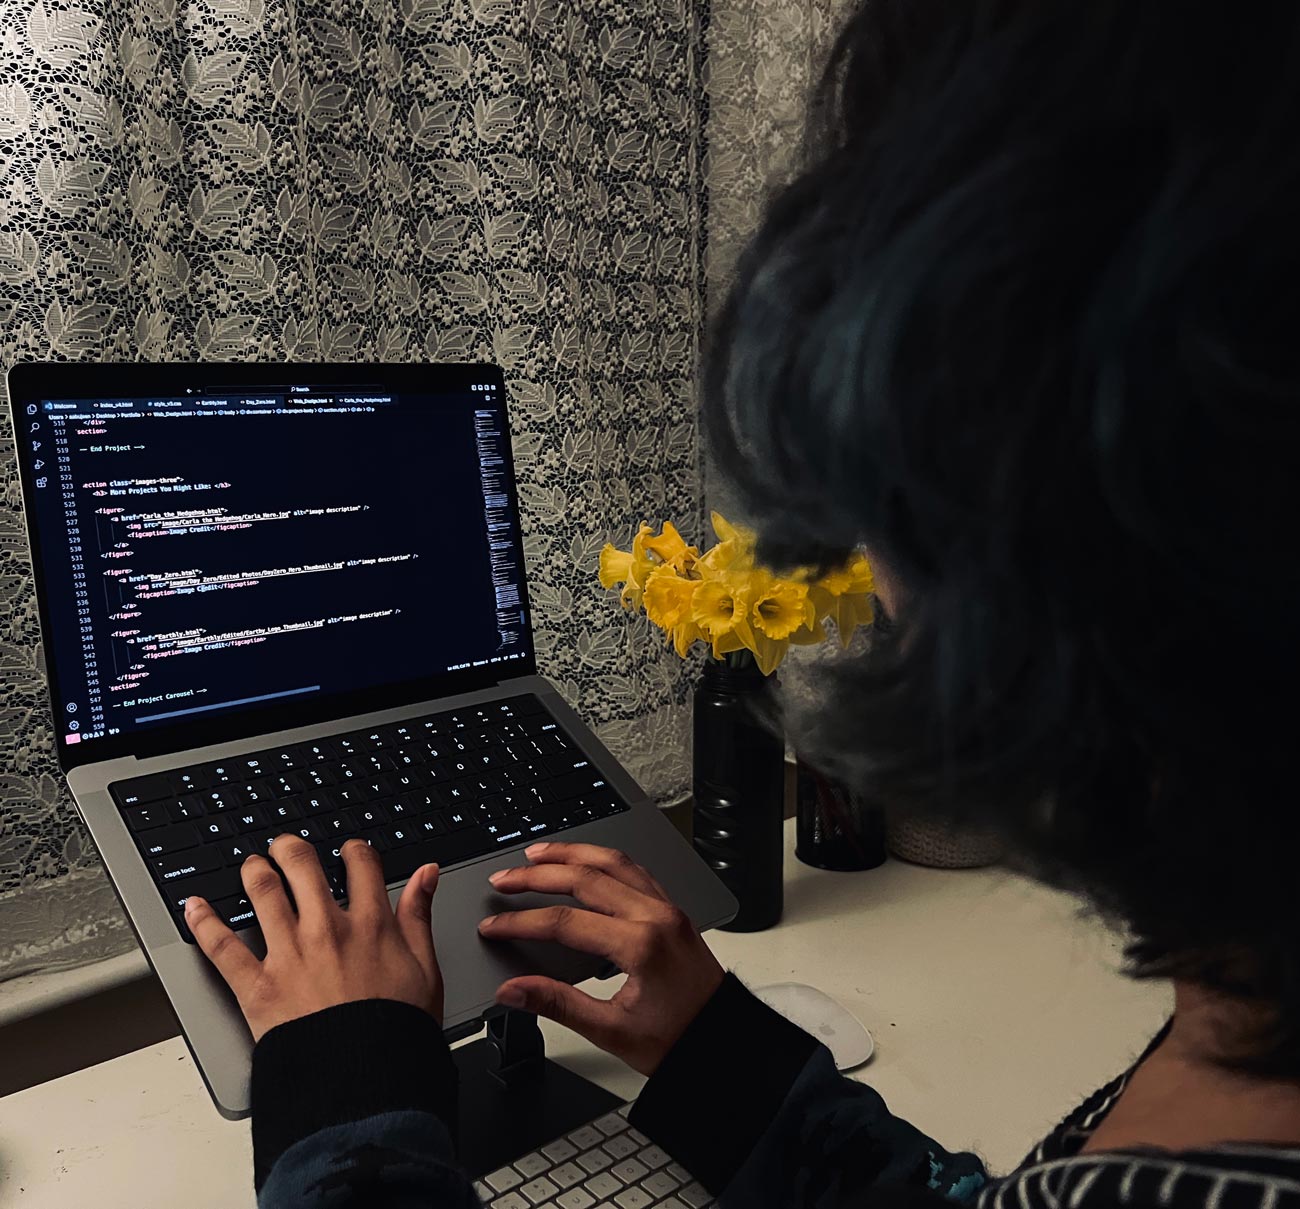
In preparation for this project, I learnt how to code over the winter break. I enrolled in 3 coding courses – SuperHi, SheCodes and the 5-Day Coding Challenge. I referred to websites featured on Awwwards for portfolio design inspiration and the current trends in web design. I referred to resources shared by Charnah Bradley throughout my process.
I found this project to be quite exciting as I had the opportunity to learn web design and create a website. It was a bit challenging at times as I encountered errors and issues with the code but I managed to resolve them by watching YouTube tutorials and referring to W3Shcools. I was also guided by Leonel Ochoa, a software developer based in the US.
When I started to code for the first time, I struggled with visually translating my ideas into code. However, this process provided valuable insights into a front-end developer's workflow, and the possibilities of website building.
Finally, I think this project allowed me to venture outside of my comfort zone as I’ve always wanted to dip my toes in the world of front-end development but never dared to do so. This introduced me to an area of design I didn’t think I would be interested in. I hope to keep exploring this further.
More Projects You Might Like: